header/navigation

LLLHeader2
Lavnav2_v4

Friday, November 30, 2012

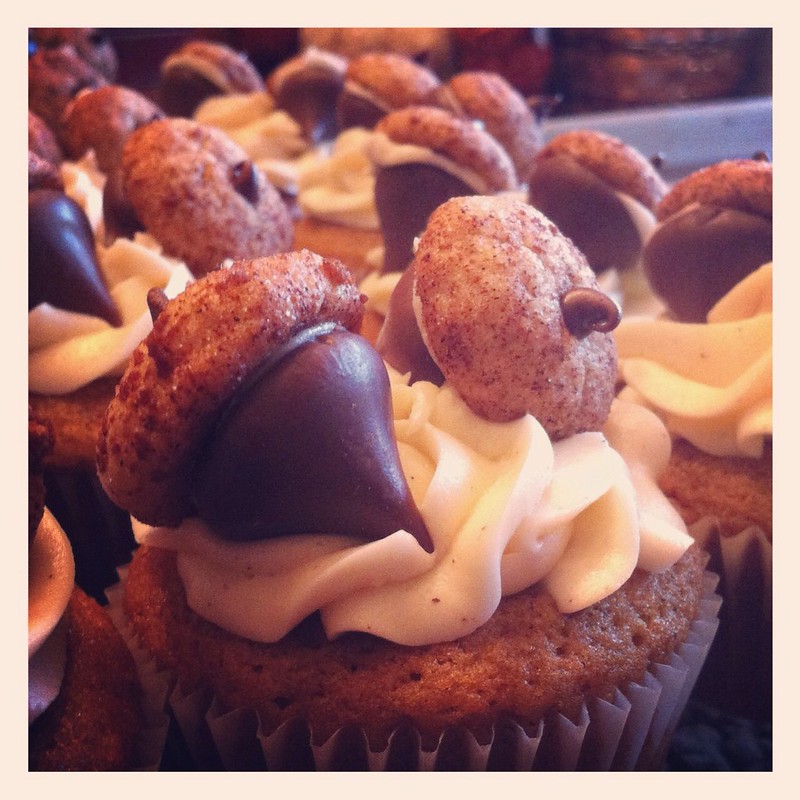
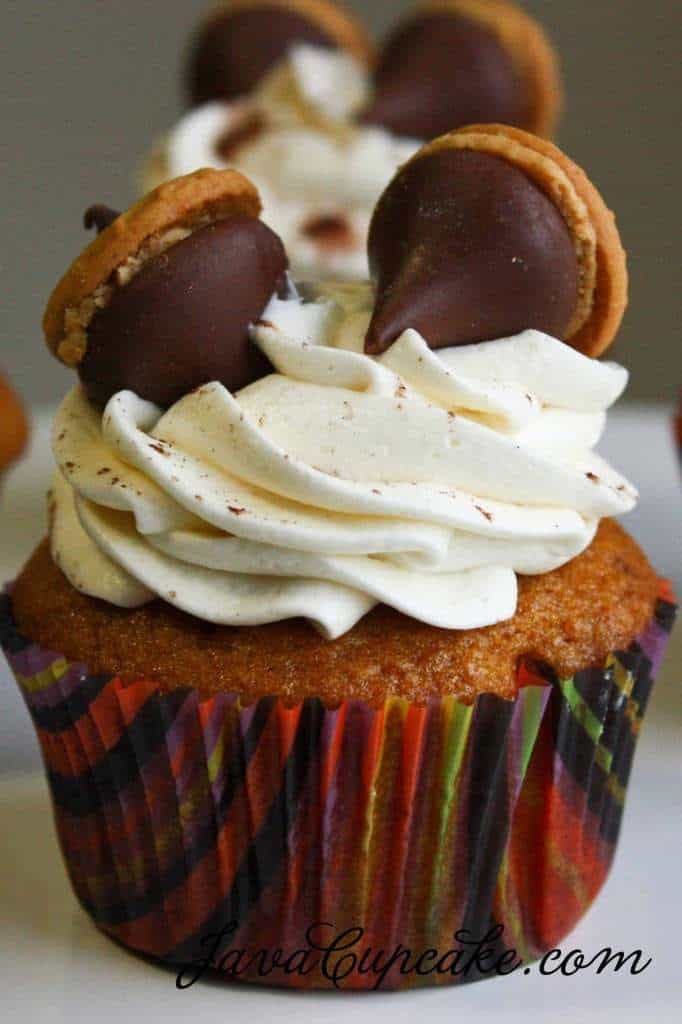
Pumpkin Spice Cupcakes With Candy Acorn Decorations

As I mentioned in my Thanksgiving post, this year my mom requested pumpkin cupcakes with cream cheese icing for dessert. Not long after, I came across this recipe with super adorable acorn embellishments!

Untitled

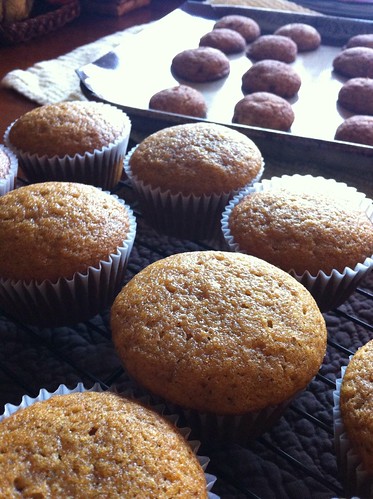
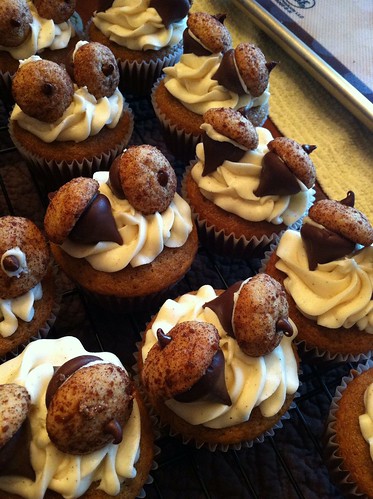
And here's how they came out! I really liked the pumpkin spice cupcake. I cut the powdered sugar a bit for the frosting, since I like to taste a little tang from the cream cheese. For the acorns, I couldn't find either of the store bought cookies recommended (mini Nila wafers or Nutter Butters) so I thought, "Oh, I'll just make some." So I made some baby snickerdoodle cookies!

If you're going to make these, set aside an afternoon. There's a few steps involved but I promise it's worth it!

First, we make cupcakes! They'll cool while you make the snickerdoodles and frosting.

Pumpkin Spice Cupcakes
Adapted from Java Cupcakes

Yield about 30 regular sized cupcakes

2 2/3 cups flour
2 teaspoon baking soda
2 teaspoon baking powder
1 teaspoon salt
2 teaspoon cinnamon
1/4 teaspoon nutmeg
1/4 teaspoon cloves
2 cups pumpkin puree (not pumpkin pie mix)
1 cup sugar
1 cup brown sugar, packed
1 cup vegetable oil
1 tsp vanilla bean paste or vanilla extract
4 eggs
  1. Preheat oven to 350 F and line 2 regular sized cupcake pans with cupcake papers.
  2. Mix together the flour, baking soda, baking powder, salt, cinnamon, nutmeg and cloves and set aside.
  3. In a large bowl, whisk together the sugars, oil, pumpkin puree and vanilla until smooth.
  4. Beat the eggs in one at a time.
  5. Slowly add the flour mixture and until just combined, but don't overmix.
  6. Fill cupcake liners 2/3 full and bake for 17-19 minutes or until a toothpick comes out clean.
  7. Let cool in pan for 5 minutes before removing to wire rack to cool completely.
Untitled

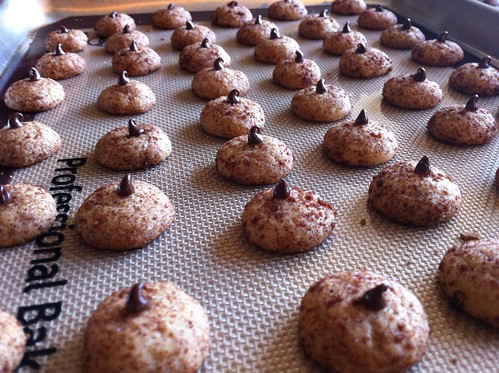
Next it's baby brown sugar snickerdoodle time!

Mini Brown Sugar Snickerdoodle Cookies
Adapted from Sunset Cookies

Yield about 60 something mini snickerdoodles

For the cookies 
1/2 cup butter
1/4 cup granulated sugar
1/4 cup dark brown sugar
1 egg
1 1/2 cups flour
1/2 teaspoon baking soda
1/2 teaspoon cream of tartar
1/8 teaspoon salt
1/2 teaspoon vanilla bean paste or extract
Mini chocolate chip cookies

For rolling 
1 teaspoon cinnamon
1 tablespoon granulated sugar
1/2 tablespoon dark brown sugar

  1. Preheat oven to 375 F. 
  2. Combine flour, baking soda, cream of tartar and salt in a large bowl and set aside.
  3. In a large mixing bowl, cream the butter
  4. Add the sugars and beat until creamy
  5. Add the eggs and vanilla and beat until combined
  6. Slowly add the flour mixture to the butter mixture and mix until combined
  7. In a separate small bowl, combine the cinnamon, granulated sugar, and brown sugar.
  8. Mix until combined. Use your fingers if you have to to break up the clumps of brown sugar
  9. Roll the dough into balls a little under 1/2 inch wide. Then roll in the cinnamon and sugar mixture, and place on an ungreased cookie sheet at least 2 inches apart
  10. Bake about 8 - 10 minutes or until lightly browned. Have the mini chocolate chips standing by for when the cookies come out of the oven.
  11. Remove the cookie from the oven and immediately press a mini chocolate chip on the top of each for the stem. Tip: If you set it on the cookie, then press just a bit, the bottom will be melty enough to adhere to the cookie as they cool.
  12. Let the cookies cool completely on baking sheets.
Untitled

Now is a good time to unwrap your Hershey kisses.

Untitled

Last is frosting, almost done!

Cream Cheese Frosting
Adapted from Java Cupcake

1 cup unsalted butter, room temperature
8oz cream cheese, room temperature
2 3/4 cups powdered sugar, sifted
1/4 teaspoon cinnamon
Pinch of salt
1 teaspoon vanilla bean paste or extract


  1. In the bowl of your stand mixer, beat the cream cheese and butter together.
  2. Slowly add the powdered sugar and beat until smooth.
  3. Mix in the vanilla and cinnamon and beat until creamy.
Assemble! Frost your cupcakes. Dab a bit of frosting on the bottom of each Hershey kiss, and stick on a snickerdoodle. Top each cupcake with two acorns.

Untitled

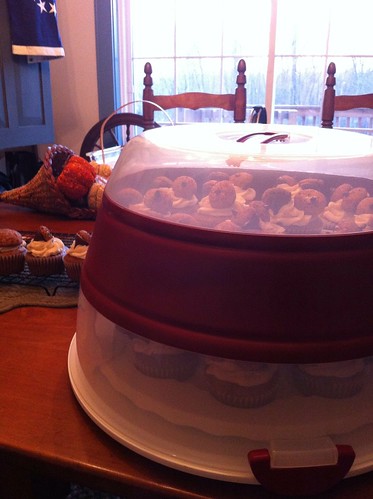
These are the first cupcakes that traveled in my new cupcake carrier! 

Untitled

Thursday, November 29, 2012

Christmas Cards

Tonight I'm designing some Christmas cards! If you've ever used Illustrator and can Google "free vector (fill in the blank)," you can too!

ScherrleXmasCard_2012_1


ScherrleXmasCard_2012_2

Monday, November 26, 2012

Thanksgiving Weekend

Looking back, this past weekend seemed more productive than it actually was at the time. I shouldn't be so hard on myself sometimes.

My contribution to Thanksgiving dinner was dessert! I made pumpkin spice cupcakes, with cream cheese frosting and decorated them with candy acorns made from baby snickerdoodle cookies, and Hershey kisses. Yes! I plan to share the recipe with you!

Untitled

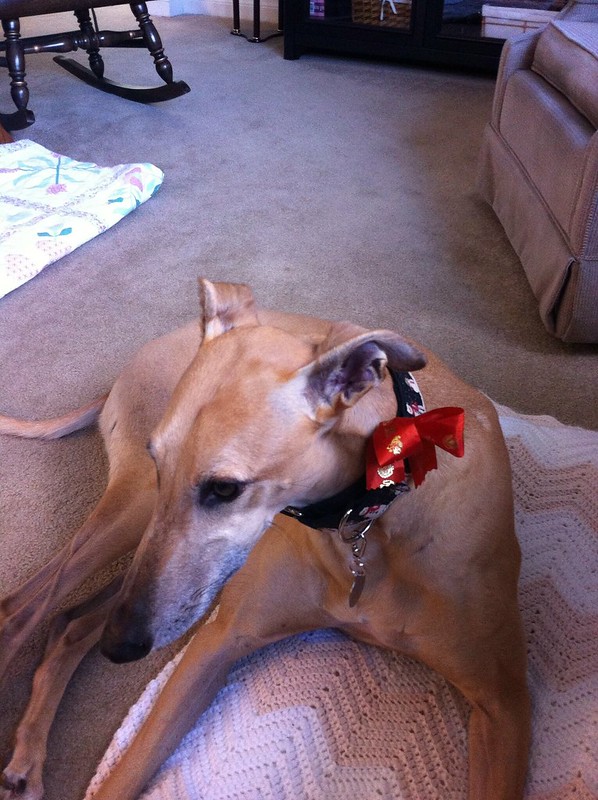
Here's Odie on Thanksgiving with his fancy Thanksgiving bow.

Untitled

On Friday I took down all the harvest decor and started putting out Christmas decorations! I crocheted this gingerbread house about two years ago.

Untitled

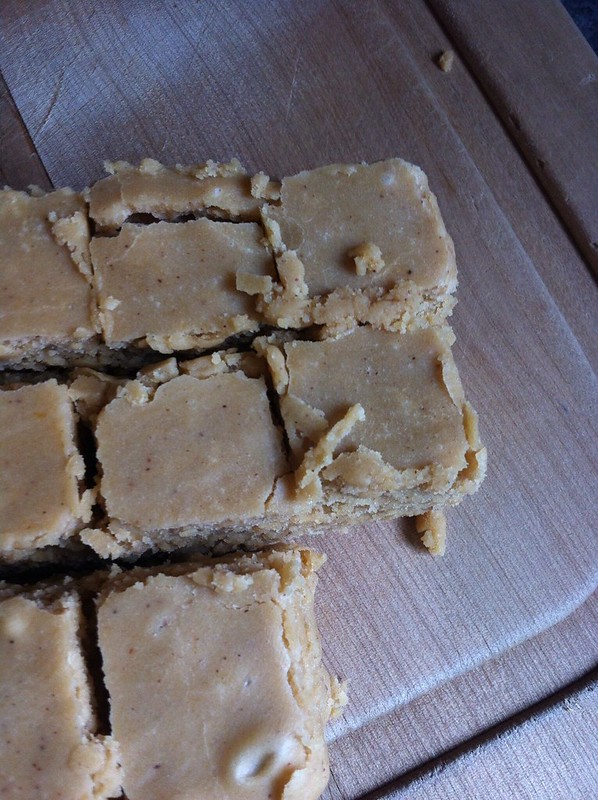
And I made pumpkin maple fudge. It turned out good! Another recipe I'll share soon!

Untitled

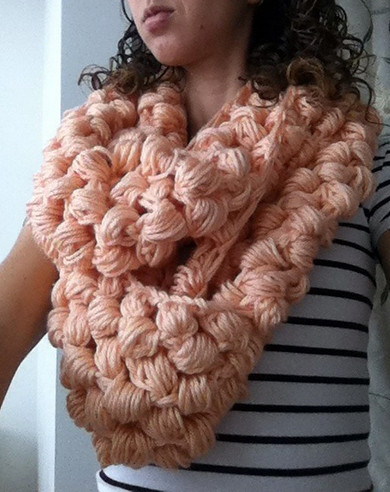
I finished my Yummy Puff Stitch Scarf, and posted the free pattern here!

Yummy puff stitch scarf!

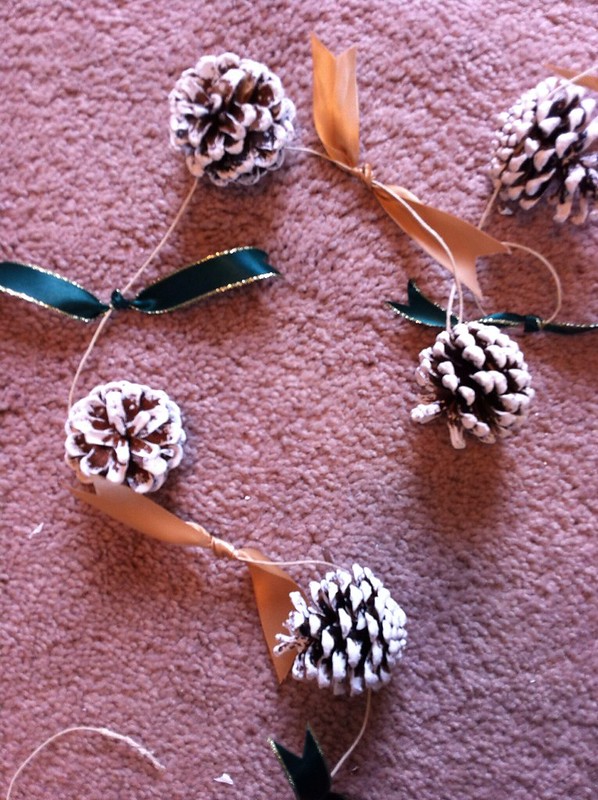
I made a fancy new Christmas garland to decorate the house with. And will post the DIY soon too!

Untitled

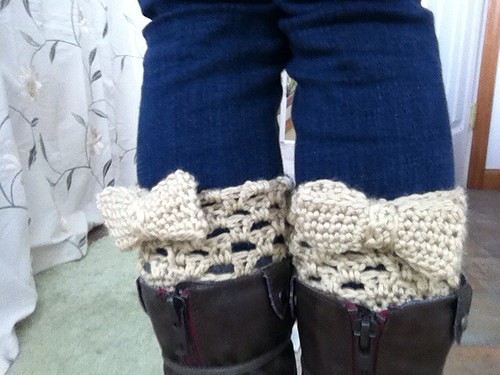
And I finished my boot cuff pattern! Also available for free soon!.

Untitled

And on Sunday we went wine tasting for New Jersey Wine Trail Weekend.

Wine trail weekend!!!

Hope you all had a great long weekend and happy Thanksgiving! In case you weren't counting, that's two recipes, one DIY and one free crochet pattern that will appear on the blog soon, so I hope you check back!

Saturday, November 24, 2012

Yummy Puff Stitch Scarf


Sometimes I just lack the focus to crochet anything complicated. I just want to be crocheting and not have to think about it. If you've ever felt the same way I have a great instant gratification project for you!

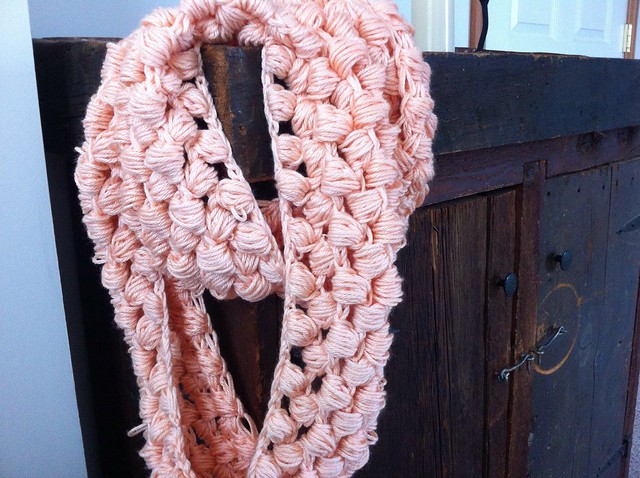
It's the yummy puff stitch scarf! For mine, I used two strands of Caron Simply Soft held together for super puffiness. Any bulky weight yarn would also do. This is an easy project that goes fast, and creates a super delicious chunky cowl.


puffstitchscarf

Yummy Puff Stitch Scarf
Completed items from this pattern are intended for personal use only, please!

Skill level
Beginner

Finished size
About 33 inches long with ends joined. 8 inches wide.

Supplies
2 - 3 skeins of Caron Simple Soft
10 mm crochet hook
Yarn needle

Skills
Ch - Chain
Sl - Slip stitch
Puff - Puff stitch

Here's how you puff stitch. Make sure you keep your yarn very loose. 

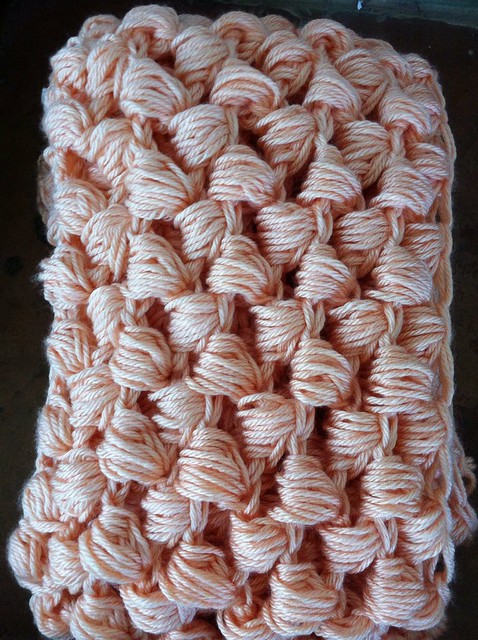
Ready to puff stitch with one loop on your hook, pull up to extend that loop so it's about as tall as a double crochet. Yarn over, insert hook in next stitch and draw up a loop (3 loops on hook). *Yarn over, insert hook into that same stitch and draw up a loop (5 loops on hook).  Repeat from * 3 more times (5 times all together) and you should wind up with 11 loops on your hook. 

Yarn over and draw through all 11 loops on hook, then chain one to close off the puff.

Untitled

Instructions
Using two strands held together, loosely chain 133.

Row 1: Turn, puff into 4th ch from hook, *sk 2, puff into next ch, repeat from * across, ch 3.
Row 2: Turn, *puff into next ch space,  repeat from * across, ch 3.
Row 3 - 10: Repeat row 2. Do not fasten off.

Finishing
Slip stitch ends together to form a circle. Fasten off and weave in ends.

Untitled

Untitled

Monday, November 19, 2012

Oh. Hi.

Please pardon our appearance while we renovate! Thanks!

Lillie

Sunday, November 18, 2012

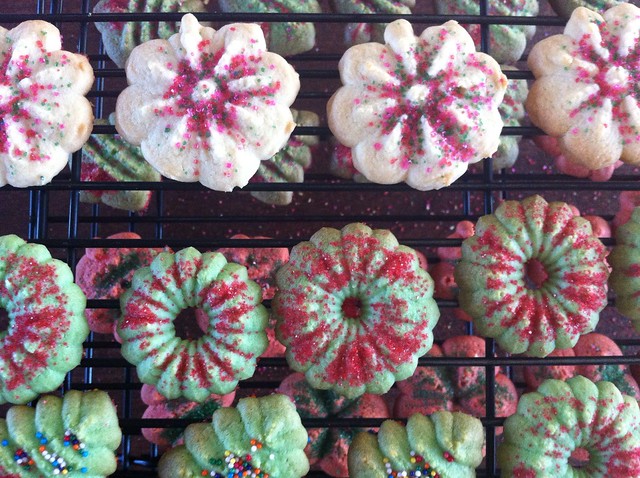
Holiday Tradition: Spritz Cookies

This weekend, I went down to my parents house to help out with a few things and decided it was a good time to commence Christmas cooking baking for the season!

With grandma turning 96 this year, it's getting to be a bit much for her (and my mom) to make oodles and oodles of Christmas cookies every year. There are about seven that are regulars at Christmas time and this year I'm making them all while grandma supervises! This weekend we made round one of spritz cookies, and thumbprint cookies. This post will cover spritz cookies, I'm saving thumbprint cookies for another time.

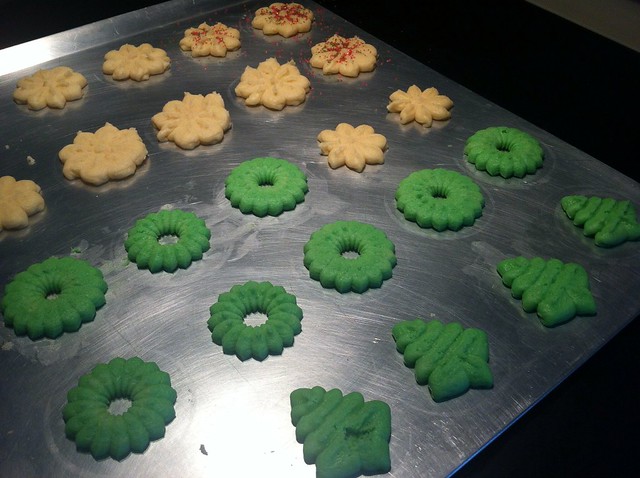
In case you don't already know spritz cookies, you need a cookie press to make them. Here's the cookie press my mom and grandma have. The recipe is super simple.

Untitled

Spritz Cookies
Yield about 6 dozen

1 cup butter
3/4 cup sugar
1 egg
2 1/4 cups flour
1/4 teaspoon salt
1/2 teaspoon baking powder
1 teaspoon lemon extract
  1. Preheat oven to 400 F.
  2. Mix together flour, salt, and baking powder and set aside.
  3. Cream the butter.
  4. Slowly add sugar and cream mix well until fluffy.
  5. Beat in the egg and extract.
  6. Slowly add the flour mixture.
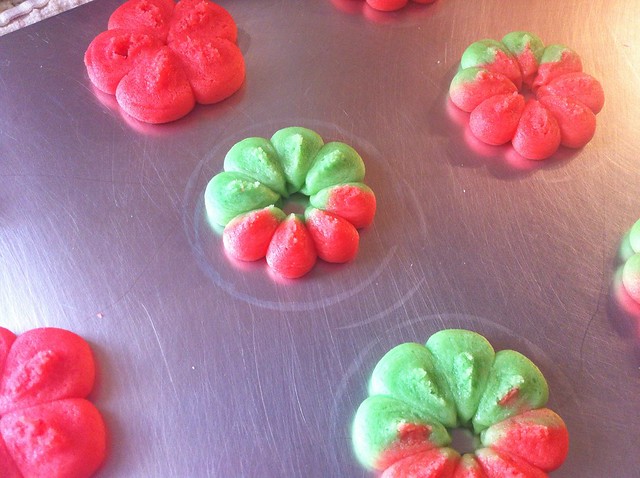
  7. Separate the dough for coloring.
  8. Fill your cookie press and press cookies onto an ungreased cookie sheet about 1 1/2 inches apart.
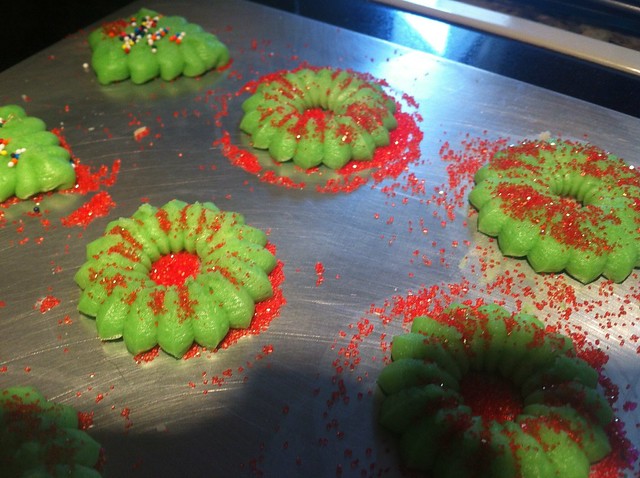
  9. Decorate as desired with sprinkles and colored sugar!
  10. Bake 10 - 12 minutes.
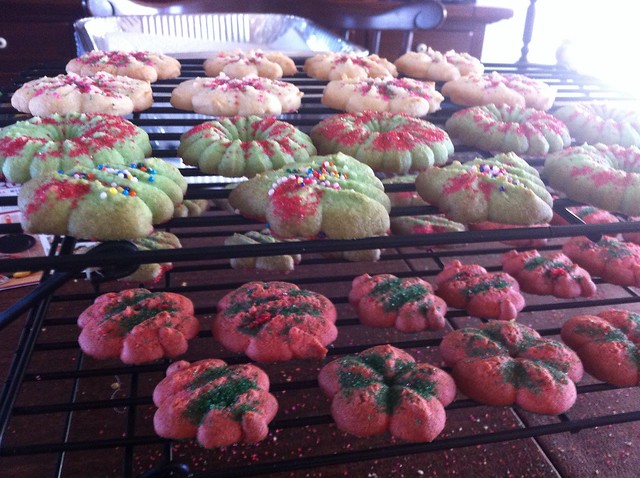
  11. Allow to cool for about 5 minutes on cookie sheet, then remove to a cooling rack to cool completely.
Untitled

Untitled

Untitled

Untitled

Untitled

Friday, November 16, 2012

The cookies are coming!

This year, my mom and my grandma (who turned 96 on my wedding day!) are teaching me how to make all their traditional Christmas cookies! And it starts tomorrow!

Here's the recipes from mom, but don't worry, I'll post each one as they're completed! It's going to take from now until Christmas. Cookie baking is a serious past-time for us.

Cookie1 Cookie2
Cookie3 Cookies4
Cookies5 Cookies6
Cookies7

Thursday, November 15, 2012

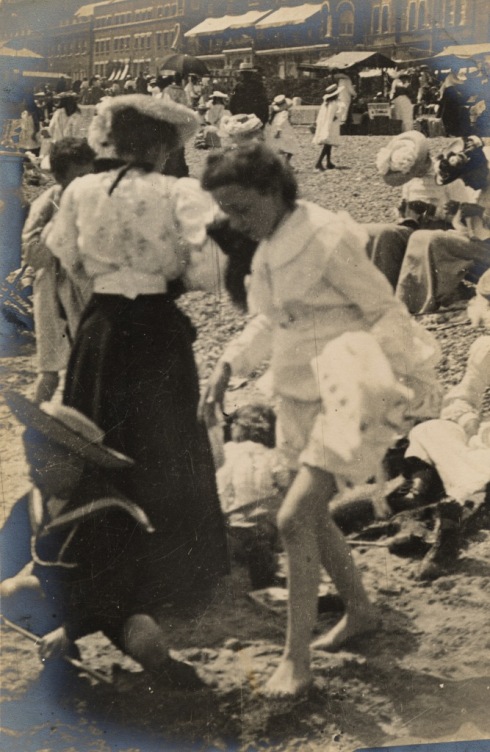
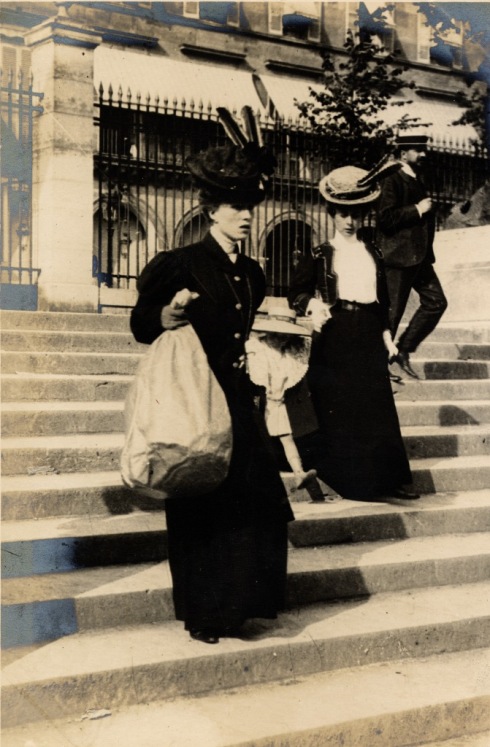
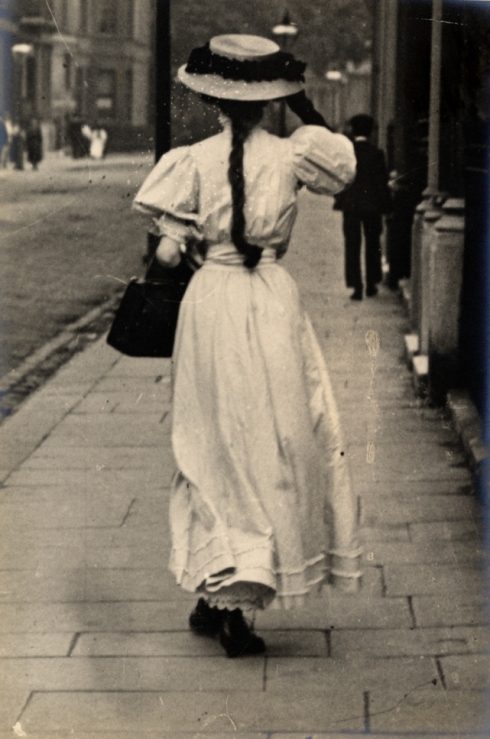
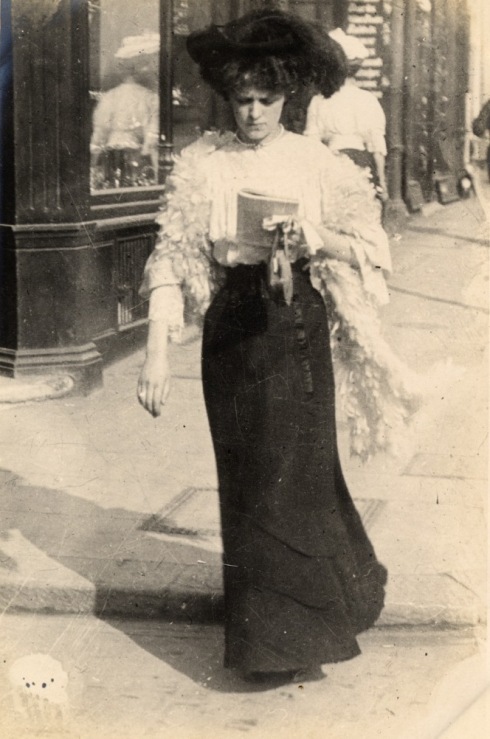
Old Black and White Photos: Victorian & Edwardian Fashion

I am easily mesmerized by old black and white photos.

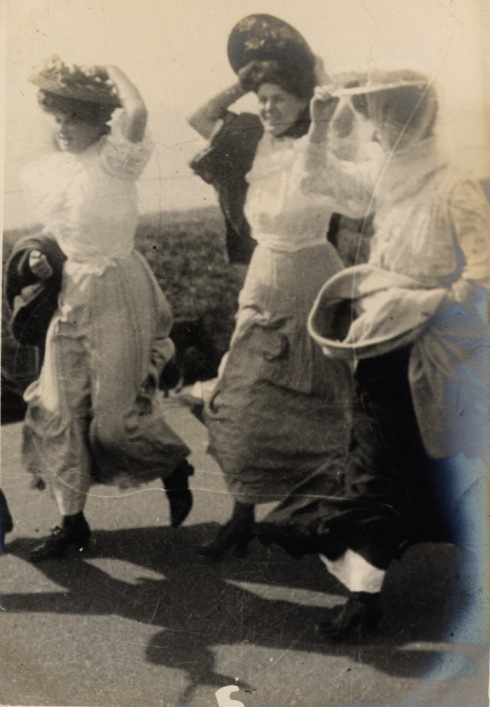
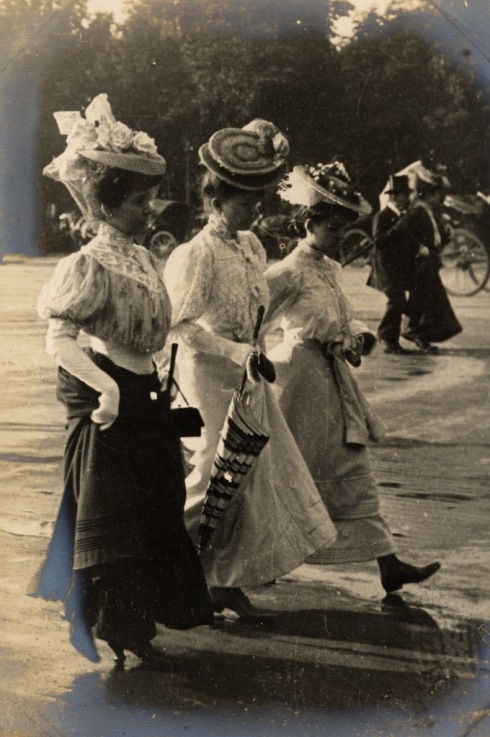
One blog I came across had pictures from Edward Linley Sambourne, who photographed street fashion in the 1900s. How amazing! Can you imagine getting all trussed up like these ladies everyday? Even at the beach?! And where would you keep your hats?!?!?


Monday, November 12, 2012

Be Somebody. Grow Garlic.

Yesterday I planted garlic in my garden. I'm excited as growing garlic sounds pretty low maintenance and easy! You plant it in the fall, and let it grow all winter and spring until almost mid-summer when you can harvest it.

Be somebody. Grow garlic.

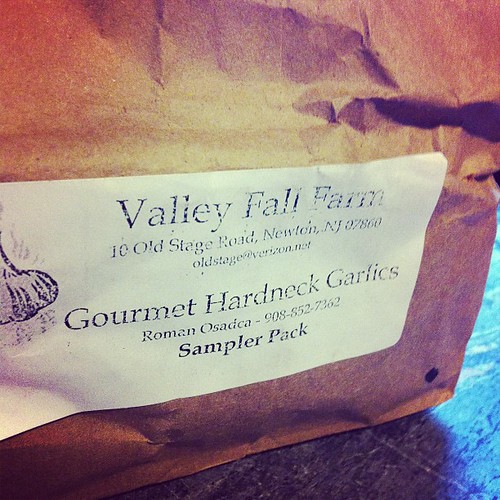
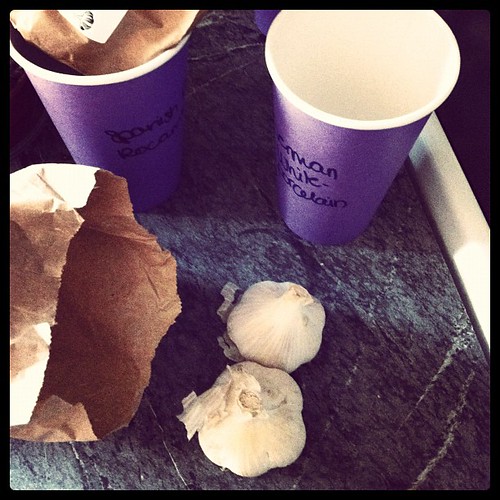
I got my garlic from my local farmer's market. Apparently store-bought garlic isn't the best choice because it has likely been treated with something to make it not sprout. I'm not sure I believe this as mine always starts growing anyway, but I was happy to buy locally, plus I got three different kinds.

Today is garlic planting day!

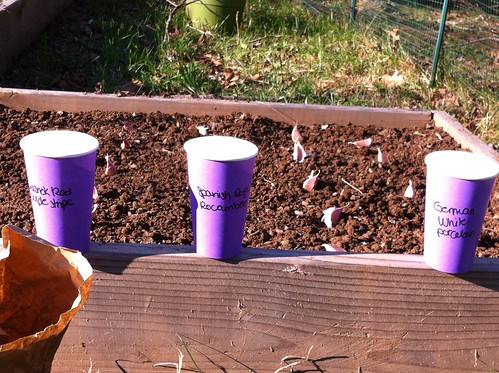
I planted two rows of German white, one row of Spanish roja, and one row of purple stripe. I've only actually tried the German white so far, I believe the other two are supposed to be hotter. Considering each clove is supposed to produce a new bulb, I'm going to have so much garlic!

Untitled

Here's some good garlic growing links:

How to Plant Garlic in Containers from Apartment Therapy

Growing Your Own Garlic is Easy from the Daily Green

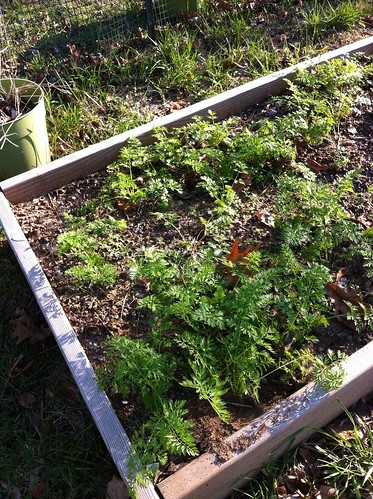
Here's a few more photos from the garden yesterday. These are my carrots going strong. It's my first time growing carrots. I planted them in August since they are a frost tolerant crop. So far, this is true. I hope they're actually "carroting" under there.

Untitled

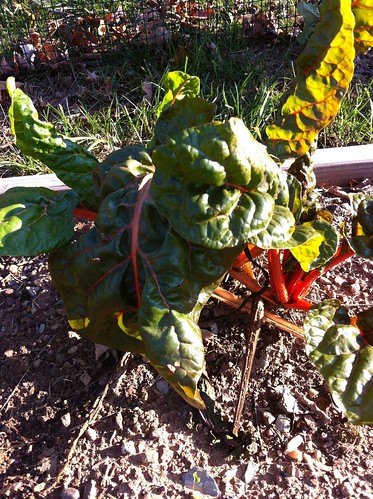
My little swiss chard plant, also a late season addition that went in when the lettuces came out. This is lovely sautéed with garlic and so good for you!

Untitled

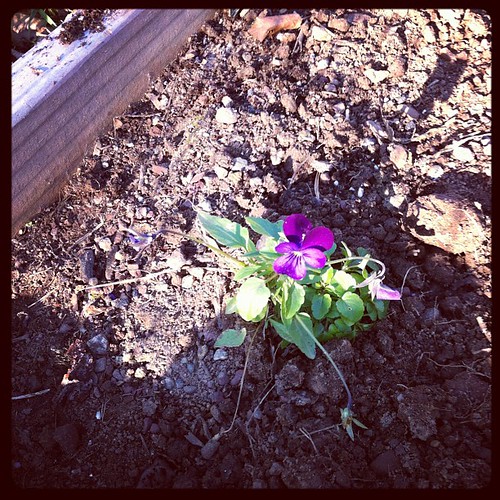
This is a really tough little pansy that appeared under my dying pepper plants in September and has been blooming ever since. This is noteworthy because I didn't have any pansies this summer anywhere on our property. We've also had at least two freezes, a hurricane, and a dusting of snow.

I have no idea how this got in my garden, but it's a fighter. Been there since September!
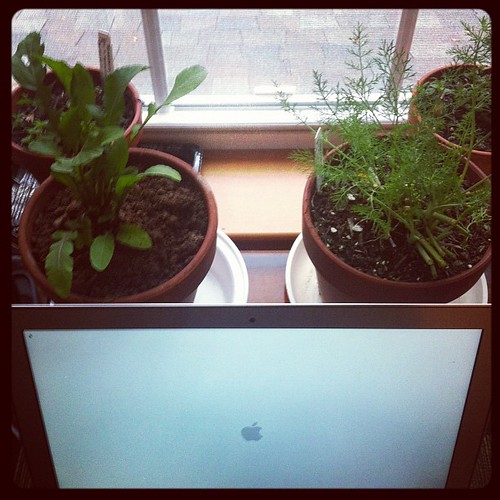
And here's my little indoor office garden. Before the storm I cleaned up all the pots off the deck but the spearmint, strawberry mint, fennel, and arugula weren't quite ready to go yet. So I thought I'd see if they'll grow inside.

Indoor office garden

Sunday, November 11, 2012

Electricity and Inspiration Restored

Now that the electricity is back on, here are some things that I'm going to do!
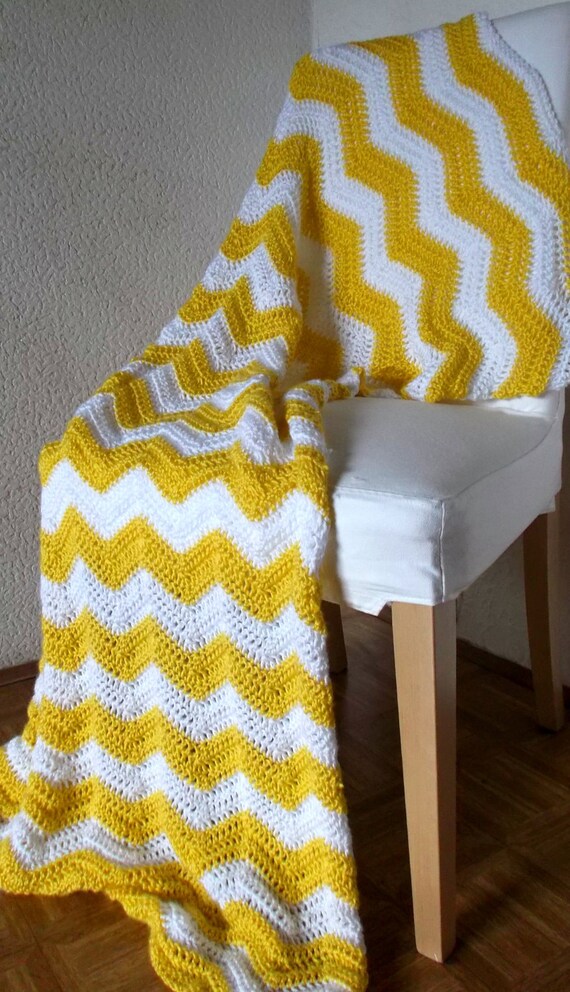
Finish my zig-zag blanket that looks like this.


Work on Christmas decoration projects. 


16 gingerbread recipes!


Plant my garlic in my garden.

Be somebody. Grow garlic.

Organize my craft room and make it mine. This is a long-term goal. Here's some tea cup collection inspiration.


Bake and puree my poor, forgotten cheese pumpkin so I can make Thanksgiving pumpkin spice cupcakes and other treats.