header/navigation

LLLHeader2
Lavnav2_v4
Showing posts with label food. Show all posts

Sunday, July 21, 2013

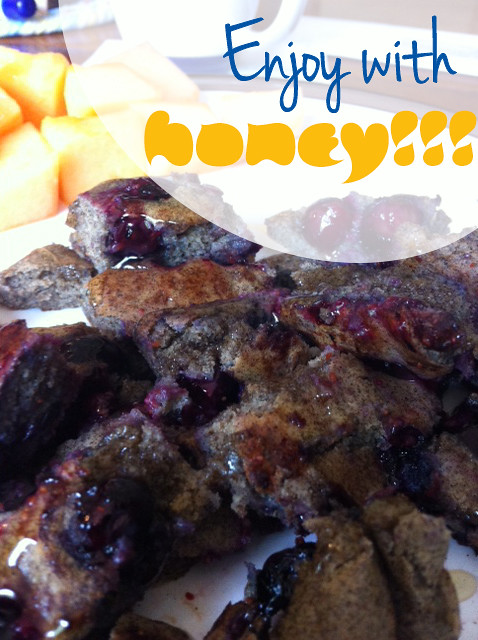
Buckwheat Blueberry Pancakes = Breakfast Superfood

Some hobbies seem seasonal for me. So it's been super quiet around here, but my girls from my stitch and bitch group have been asking about my blog. So I'm going to try to get back in the saddle with it.

Particularly, someone asked to see pictures of my garden. I have a chocolate wild raspberry pie in the oven right now, so as soon as that's out I'll head outside to take photos. Until then, I have a buckwheat blueberry pancake recipe for you. Yay!

A few weeks ago I spotted soba noodles in the grocery store and realized soba noodles are a great summer dish because they're served cold. Then I learned that buckwheat (which is what soba noodles are made of) is super healthy for you. So now I'm on a buckwheat bender.
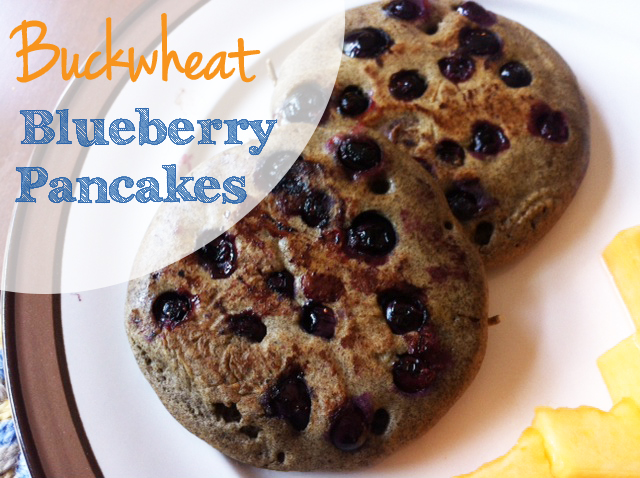

I found this recipe on Mayo Clinic (figured I couldn't go wrong there). And added some blueberries for extra anti-oxidant boost. Ugh, I'm so healthy I annoy myself sometimes. Completely different from me in highschool or college where I ate Poptarts and Oreos every day. I do miss them.

Anyway, this batter is fun because it looks like wet sand when you're mixing it! But they came out really tasty. I usually use honey on my pancakes, which makes them extra tasty and is also really good for you!

Buckwheat Blueberry Pancakes
Adapted from MayoClinic (head over there for nutritional information)

2 egg whites (substitute 1/2 cup applesauce and make it vegan!)
1 tablespoon canola oil
1/2 cup almond milk
1/2 cup white whole wheat flour
1/2 cup buckwheat flour
1 tablespoon baking powder
1 tablespoon sugar
1/2 cup water
Fresh blueberries
  1. Preheat griddle or pan.
  2. In a small bowl, whisk together the egg whites, canola oil and milk.
  3. In another bowl, combine the flours, baking powder and sugar. 
  4. Add the egg white mixture and the water and stir until slightly moistened.
  5. Drop 1/3 cups of batter into pan.
  6. Drop blueberries on to each pancake as it cooks.
  7. Cook about two minutes on each side.
When ever we make pancakes I store them in tupperware with wax paper in between to reheat and eat all week. Or, I store them in plastic bags with wax paper in between and freeze them. You can heat them up in the toaster oven or microwave.

Sunday, June 2, 2013

French Toast All Week Long!

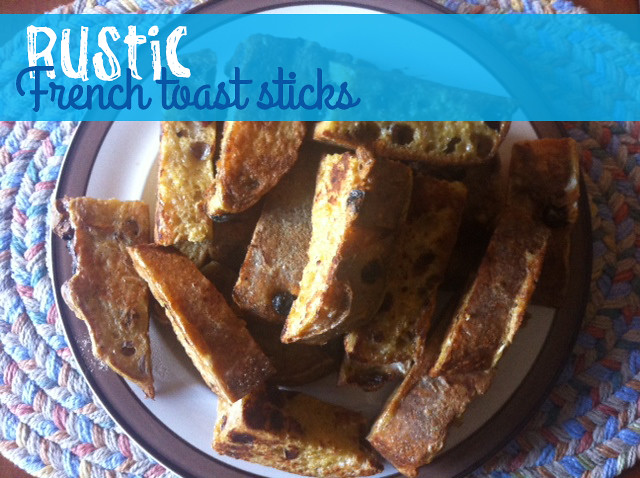
If I can, I like to try to get ahead on the weekends as far as meal planning goes. So yesterday at the first farmers market of the season, I purchased a loaf of raisin bread and this morning I sliced it all up to make french toast sticks!

Frenchtoast1

I'll keep them in the freezer and Dave and I will heat them up in the toaster oven all week for breakfast. Also if you're one of those psychos who eats breakfast in your car on your way to work, these are a good grab-and-go meal.

Not like anyone needs a recipe for french toast, but here's how I made mine!

French Toast Sticks

1 8 inch round loaf of rustic bread
4 eggs
1/2 teaspoon vanilla extract
1/2 teaspoon cinnamon
  1. Slice the bread into about 3/4 - 1 inch slices. Then slice them in half length-wise, then again width-wise so you get 3 - 4 inch sticks... You know what I mean, just slice the bread.
  2. Preheat skillet over low medium heat on the stove.
  3. Add the eggs, vanilla, and cinnamon to a nice wide bowl and beat together.
  4. Dredge each slice of bread in the egg mixture and place in the pan. 
  5. Let cook about 1 - 2 minutes on each side.
  6. Serve with honey or syrup.
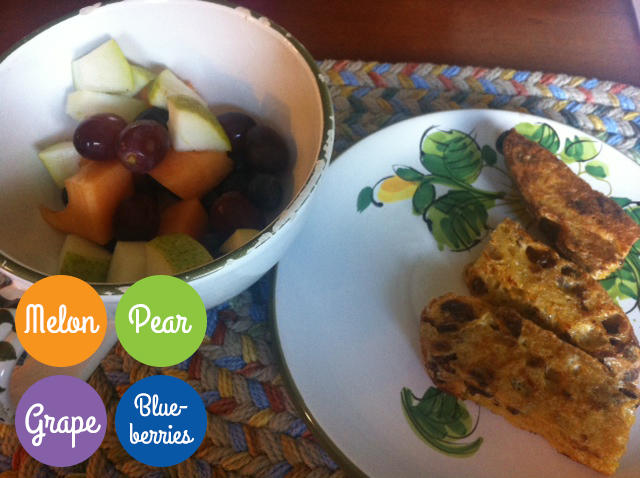
I made a nifty fruit salad to go with mine for breakfast today.


Frenchtoast2

Friday, May 24, 2013

Not Abandoned! Have a Smoothie Recipe

Oh dear. I sort of fell off the blogging cliff in the past few months.

Sometimes hobbies are sort of seasonal for me. And sometimes I get discouraged because I set goals for  myself, then I don't make them, and then I sort of give up for awhile. It happens to everyone I suppose. Though for hobbies which are supposed to be fun, I don't think I need to hold myself as accountable as I have been.

We'll see how that goes for awhile.

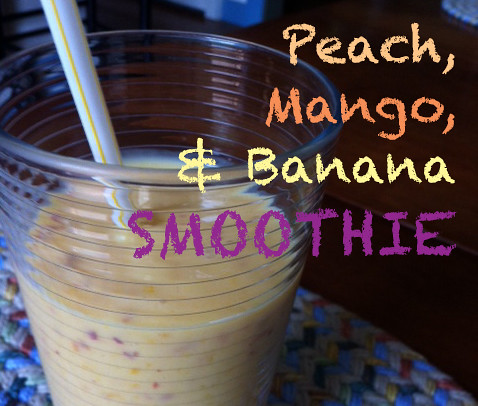
Anyway, since I'm here, I have a smoothie recipe to share. Smoothies are my favorite mid-morning and mid-afternoon snack. I got into them because it was a sneaky way to make myself eat fruit. I like making them with frozen fruit because I like icy-ness in my smoothies, and I usually make them with soy milk or yogurt for extra protein.

PeachMangoSmoothie

Serving size: A little under 12 oz

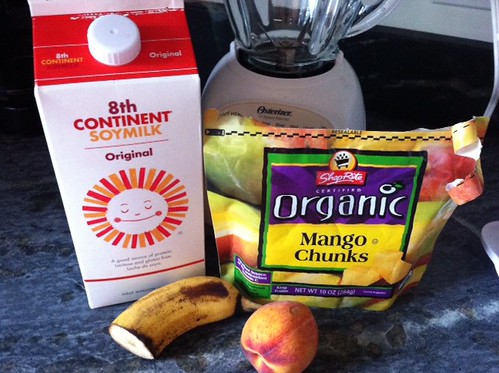
1/2 large banana (peeled and sliced)
1 medium peach (cut up, with skin, it's where the good stuff is)
1/2 cup frozen mango chunks
1/3 cup soy milk (normal, not vanilla or any of that sugary stuff)

photo 1

Pop everything in your blender. Blend blend blend!

Pour into a 12 oz glass and enjoy!

Follow the jump for nutritional facts!

Thursday, February 21, 2013

Bento Living!

Here's why I wanted a Laptop Lunch Box:

  1. It's fun to say.
  2. I'm big on bringing my lunch and snacks from home, and was tired of wrangling a bunch of tupperware containers.
  3. It helps me eat a variety of food for lunch.
  4. It prevents me from doing things like leaving my whole container of hummus in the fridge at work over the weekend. 
  5. I can only eat what I bring with me. 
  6. It's like Lunchables for grown ups.
  7. Packing it at night take awhile but it saves time in the morning.
  8. I can photo document my life in lunch for when I need healthy lunch inspiration!
I've gone as far as to make a set on Flickr. Plus the Laptop Lunch website has lots of great inspiration galleries.

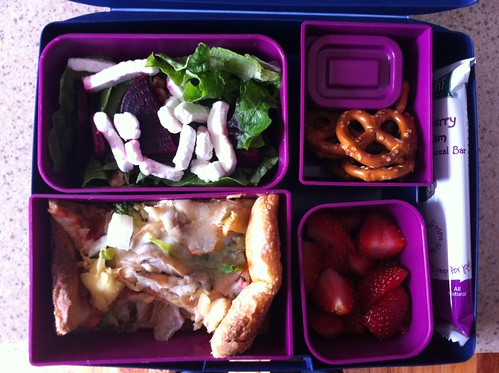
Pizza plus some healthy stuff

Clockwise: Salad with beets and goat cheese, pretzels with hummus, Kashi soft bake cereal bar, strawberries, veggie pizza!

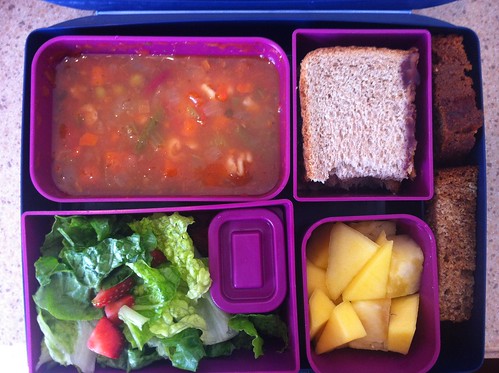
Untitled

Clockwise: Amy's minestrone soup, half a peanut butter & jelly sandwich, half a piece of banana bread, mango and pineapple, salad with strawberries & pecans with dressing on the side.

Untitled

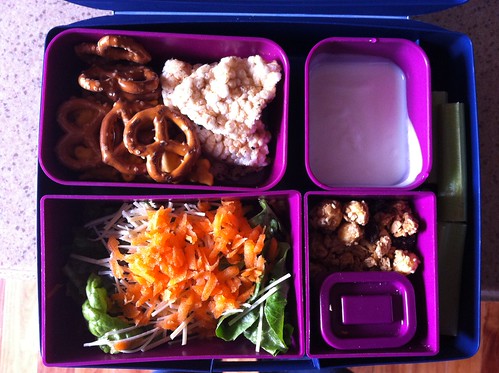
Clockwise: Crunchy things: Cheddar bunnies, pretzels, tamari & seaweed rice cake, yogurt for mixing with granola, celery on the side, salad with dressing on the side.

Wednesday, January 30, 2013

Weekly Pancake: Banana Walnut

This was actually last weeks pancake, I just never got around to posting it.

Tonight is breakfast for dinner night, so there will be a new pancake happening in my kitchen!

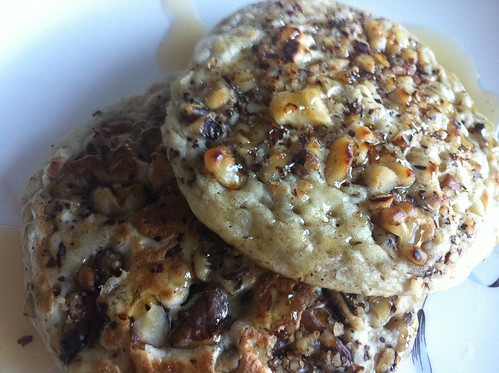
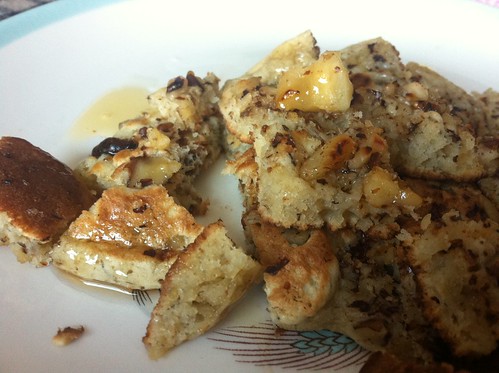
Until then, we have banana walnut pancakes. I especially liked these with honey instead of syrup. The original recipe called for buttermilk, but I substituted soy milk, and they came out delicious just the same.

Untitled

Banana Walnut Pancakes
Adapted from yumsugar

2 cups all-purpose flour
2 tbsp. sugar
2 tsp. baking powder
1/2 tsp. baking soda
1/2 tsp. salt
1 large egg, brought to room temp
3 tbsp. unsalted butter, melted and cooled
2 cups soy milk
1 large or 2 small ripe bananas, smashed with fork
1/2 cup walnuts, roughly chopped
  1. Whisk together the flour, sugar, baking powder, baking soda and salt in a large bowl. 
  2. In a separate bowl whisk together the egg melted butter and then the milk. 
  3. Make a well in the center of the dry ingredients, pour the wet mixture into the well and whisk.
  4. Stir in bananas and be careful not to over mix.
  5. Pour on to hot griddle or pan and sprinkle top with walnuts.
  6. Flip once edges are almost cooked and bubbles begin to appear.
Untitled

Sunday, January 13, 2013

Weekly Pancake: Honey Whole Wheat Pumpkin

I've decided I like making pancakes on Sunday morning, then eating them for breakfast for the rest of the week. We'll see how long this lasts, but while I'm in to it, I'll be sharing my weekly pancake recipe with you all!

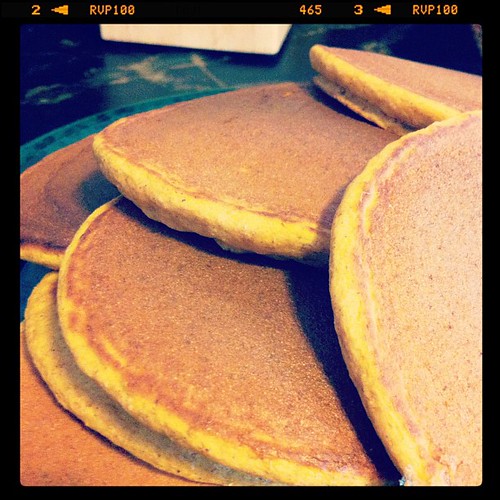
This morning Dave's family came over for breakfast, and I made Honey Whole Wheat Pumpkin pancakes. We drizzled more honey on them instead of syrup. :o)

Whole wheat pumpkin honey pancakes.

Honey Whole Wheat Pumpkin Pancakes

1 cup whole wheat flour
2 1/4 teaspoons baking powder
1/2 teaspoon pumpkin pie spice
1/4 teaspoon cinnamon
1 egg
1 cup milk
1/4 cup canned pumpkin
2 tablespoons honey

  1. Combine all dry ingredients in a bowl and stir
  2. Add egg and milk to dry ingredients and stir
  3. Add pumpkin and honey to pancake batter and stir until fully combined
  4. Pour batter onto a pan or griddle sprayed with cooking spray and cook on low-medium heat until sides start to bubble (about 3 minutes)
  5. Flip pancakes and cook for an addition 1 – 2 minutes and serve immediately... or pack for breakfast for the rest of the week. :oD


Saturday, January 12, 2013

Chambord Chocolate Cupcakes

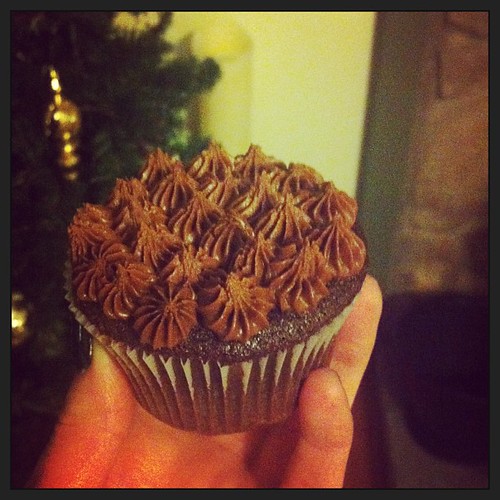
Here is a recipe for Chambord chocolate cupcakes that were baked up, packed off and eaten so quickly that all I have to show for them is but one Instagram photo.

Chocolate chambord cupcake that I just ate before dinner. Yum.

But really, how many photos do you need for me to convince you they'll be delicious? They're Chambord chocolate cupcakes, everyone wins. 

The recipe came from Ming Makes Cupcakes, which isn't really updated anymore, but I have never had a cupcake failure with any of her recipes. I've made them my own go-to recipes, and they only yield about 10 - 12 cupcakes per batch, which I think is perfect.

Chocolate Cupcakes with Chambord Chocolate Frosting

For the cupcakes

1 cup flour
1/2 cup unsweetened cocoa
1/2 tsp baking powder
1/2 tsp baking soda
1/4 tsp salt
1/2 cup butter
1 cup sugar
1 tsp vanilla
1 egg
3/4 cup milk
3 T berry jam
3 tsp Chambord liqueur

  1. Preheat oven to 350 and prepare a cupcake pan with liners
  2. Mix flour, cocoa, baking powder, soda, and salt. 
  3. In a separate bowl, cream butter and sugar on medium until light and fluffy. 
  4. Reduce speed to low and add vanilla and egg. 
  5. Add milk and flour mixture alternately while still mixing.  
  6. Mix in jam and liqueur.  
  7. Pour into lined cupcake pan and bake for 20 minutes, or until toothpick comes out almost clean.

For the frosting

1 stick butter
5 heaping T cocoa
1 lb confectioner’s sugar
1 tsp vanilla
1/4 cup milk
1/8 cup Chambord

  1. In a saucepan, melt butter at low temperature.  
  2. In a separate bowl, mix cocoa and sugar.  
  3. Add melted butter, vanilla, and milk and beat at low speed until mixed. 
  4. Mix in Chambord.  
  5. Frost cupcakes generously and top (or fill) with a dollop of jam.  

Sunday, December 23, 2012

Monday, December 10, 2012

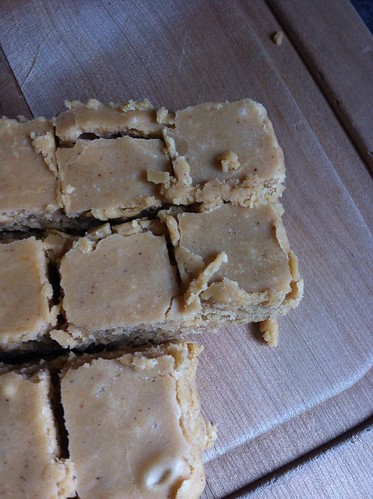
Pumpkin Maple Fudge

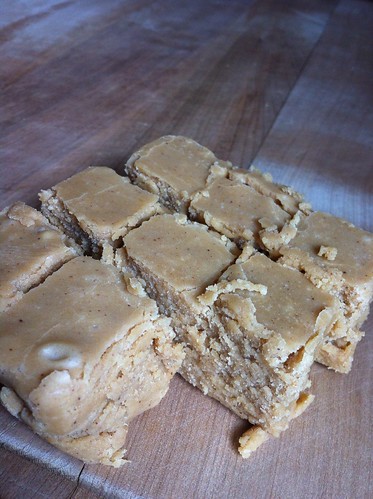
So good, and so very very sweet. You've been warned. Now here's the recipe!

Untitled

Pumpkin Maple Fudge
Adapted from Sugar Crafter

1 1/2 cups granulated sugar
1 1/2 cups packed light brown sugar
1 1/2 sticks unsalted butter, cut into small pieces
2/3 cup evaporated milk
1 cup pureed pumpkin
1 teaspoon cinnamon
1/4 teaspoon nutmeg
1/8 teaspoon cloves
2 cups white chocolate chips
1 bag (4.4 oz) mini marshmallows
3 Tablespoons maple syrup
  1. Line a 12 x 8 baking dish with foil, letting it hang over the edges. 
  2. In a large sauce pan, whisk together the sugars, butter, evaporated milk, pumpkin, and spices.
  3. Bring to a foil over medium heat, stirring constantly. Continue boiling for 10-12 minutes or until the candy thermometer registers 235 degrees Fahrenheit – soft ball stage.
  4. Remove from heat and immediately stir in the white chocolate chips, then the marshmallows and maple syrup.
  5. Stir until melted, and then immediately pour into the prepared pan.
  6. Let cool on a wire rack for 2 hours or until completely cooled. 
  7. To cut, lift the foil from the ends of the dish.
Untitled

Friday, November 30, 2012

Pumpkin Spice Cupcakes With Candy Acorn Decorations

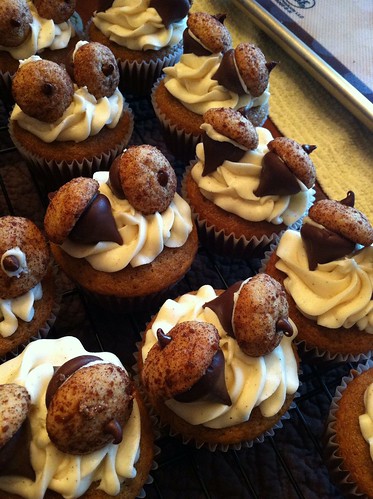
As I mentioned in my Thanksgiving post, this year my mom requested pumpkin cupcakes with cream cheese icing for dessert. Not long after, I came across this recipe with super adorable acorn embellishments!

Untitled

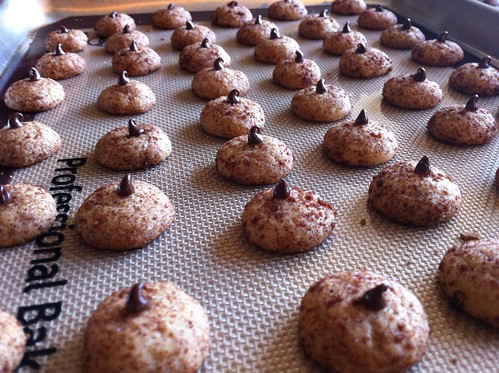
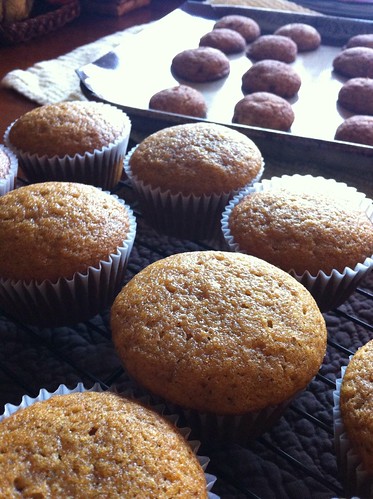
And here's how they came out! I really liked the pumpkin spice cupcake. I cut the powdered sugar a bit for the frosting, since I like to taste a little tang from the cream cheese. For the acorns, I couldn't find either of the store bought cookies recommended (mini Nila wafers or Nutter Butters) so I thought, "Oh, I'll just make some." So I made some baby snickerdoodle cookies!

If you're going to make these, set aside an afternoon. There's a few steps involved but I promise it's worth it!

First, we make cupcakes! They'll cool while you make the snickerdoodles and frosting.

Pumpkin Spice Cupcakes
Adapted from Java Cupcakes

Yield about 30 regular sized cupcakes

2 2/3 cups flour
2 teaspoon baking soda
2 teaspoon baking powder
1 teaspoon salt
2 teaspoon cinnamon
1/4 teaspoon nutmeg
1/4 teaspoon cloves
2 cups pumpkin puree (not pumpkin pie mix)
1 cup sugar
1 cup brown sugar, packed
1 cup vegetable oil
1 tsp vanilla bean paste or vanilla extract
4 eggs
  1. Preheat oven to 350 F and line 2 regular sized cupcake pans with cupcake papers.
  2. Mix together the flour, baking soda, baking powder, salt, cinnamon, nutmeg and cloves and set aside.
  3. In a large bowl, whisk together the sugars, oil, pumpkin puree and vanilla until smooth.
  4. Beat the eggs in one at a time.
  5. Slowly add the flour mixture and until just combined, but don't overmix.
  6. Fill cupcake liners 2/3 full and bake for 17-19 minutes or until a toothpick comes out clean.
  7. Let cool in pan for 5 minutes before removing to wire rack to cool completely.
Untitled

Next it's baby brown sugar snickerdoodle time!

Mini Brown Sugar Snickerdoodle Cookies
Adapted from Sunset Cookies

Yield about 60 something mini snickerdoodles

For the cookies 
1/2 cup butter
1/4 cup granulated sugar
1/4 cup dark brown sugar
1 egg
1 1/2 cups flour
1/2 teaspoon baking soda
1/2 teaspoon cream of tartar
1/8 teaspoon salt
1/2 teaspoon vanilla bean paste or extract
Mini chocolate chip cookies

For rolling 
1 teaspoon cinnamon
1 tablespoon granulated sugar
1/2 tablespoon dark brown sugar

  1. Preheat oven to 375 F. 
  2. Combine flour, baking soda, cream of tartar and salt in a large bowl and set aside.
  3. In a large mixing bowl, cream the butter
  4. Add the sugars and beat until creamy
  5. Add the eggs and vanilla and beat until combined
  6. Slowly add the flour mixture to the butter mixture and mix until combined
  7. In a separate small bowl, combine the cinnamon, granulated sugar, and brown sugar.
  8. Mix until combined. Use your fingers if you have to to break up the clumps of brown sugar
  9. Roll the dough into balls a little under 1/2 inch wide. Then roll in the cinnamon and sugar mixture, and place on an ungreased cookie sheet at least 2 inches apart
  10. Bake about 8 - 10 minutes or until lightly browned. Have the mini chocolate chips standing by for when the cookies come out of the oven.
  11. Remove the cookie from the oven and immediately press a mini chocolate chip on the top of each for the stem. Tip: If you set it on the cookie, then press just a bit, the bottom will be melty enough to adhere to the cookie as they cool.
  12. Let the cookies cool completely on baking sheets.
Untitled

Now is a good time to unwrap your Hershey kisses.

Untitled

Last is frosting, almost done!

Cream Cheese Frosting
Adapted from Java Cupcake

1 cup unsalted butter, room temperature
8oz cream cheese, room temperature
2 3/4 cups powdered sugar, sifted
1/4 teaspoon cinnamon
Pinch of salt
1 teaspoon vanilla bean paste or extract


  1. In the bowl of your stand mixer, beat the cream cheese and butter together.
  2. Slowly add the powdered sugar and beat until smooth.
  3. Mix in the vanilla and cinnamon and beat until creamy.
Assemble! Frost your cupcakes. Dab a bit of frosting on the bottom of each Hershey kiss, and stick on a snickerdoodle. Top each cupcake with two acorns.

Untitled

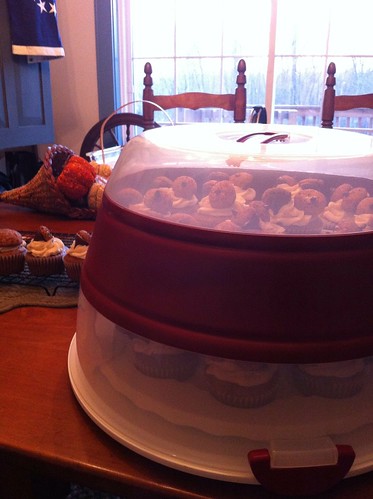
These are the first cupcakes that traveled in my new cupcake carrier! 

Untitled

Sunday, November 18, 2012

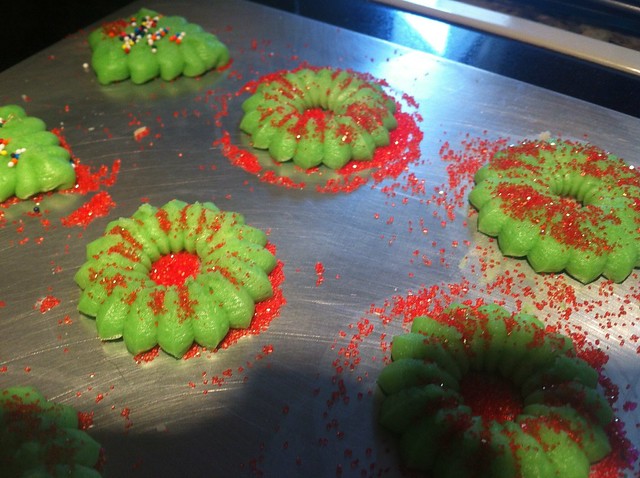
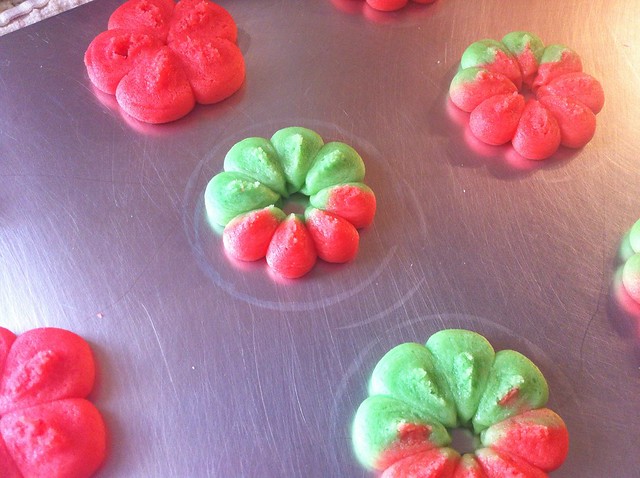
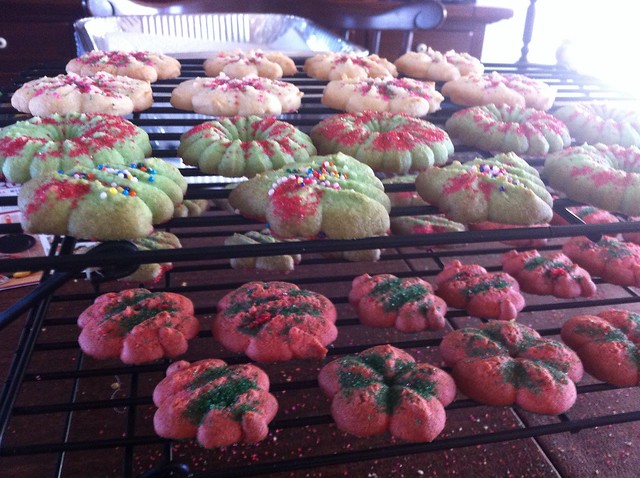
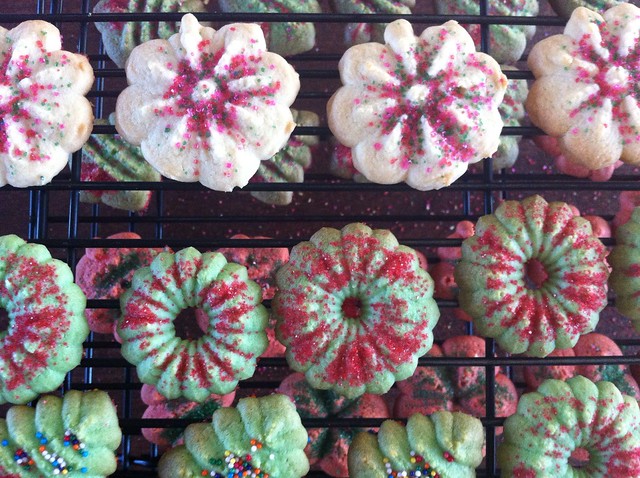
Holiday Tradition: Spritz Cookies

This weekend, I went down to my parents house to help out with a few things and decided it was a good time to commence Christmas cooking baking for the season!

With grandma turning 96 this year, it's getting to be a bit much for her (and my mom) to make oodles and oodles of Christmas cookies every year. There are about seven that are regulars at Christmas time and this year I'm making them all while grandma supervises! This weekend we made round one of spritz cookies, and thumbprint cookies. This post will cover spritz cookies, I'm saving thumbprint cookies for another time.

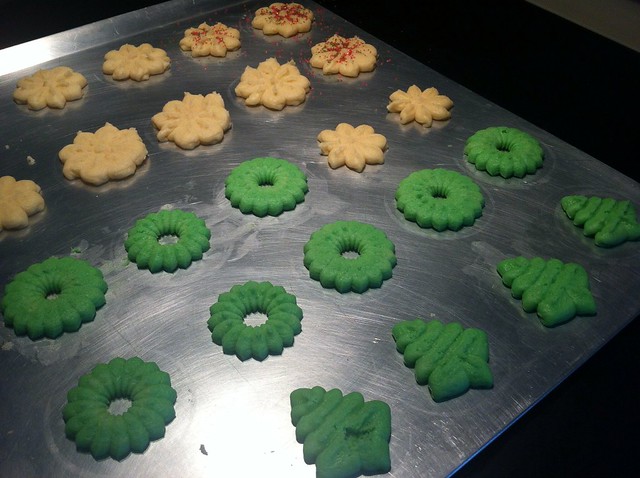
In case you don't already know spritz cookies, you need a cookie press to make them. Here's the cookie press my mom and grandma have. The recipe is super simple.
Untitled

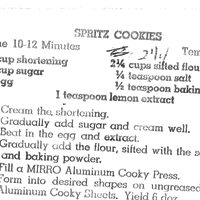
Spritz Cookies
Yield about 6 dozen

1 cup butter
3/4 cup sugar
1 egg
2 1/4 cups flour
1/4 teaspoon salt
1/2 teaspoon baking powder
1 teaspoon lemon extract
  1. Preheat oven to 400 F.
  2. Mix together flour, salt, and baking powder and set aside.
  3. Cream the butter.
  4. Slowly add sugar and cream mix well until fluffy.
  5. Beat in the egg and extract.
  6. Slowly add the flour mixture.
  7. Separate the dough for coloring.
  8. Fill your cookie press and press cookies onto an ungreased cookie sheet about 1 1/2 inches apart.
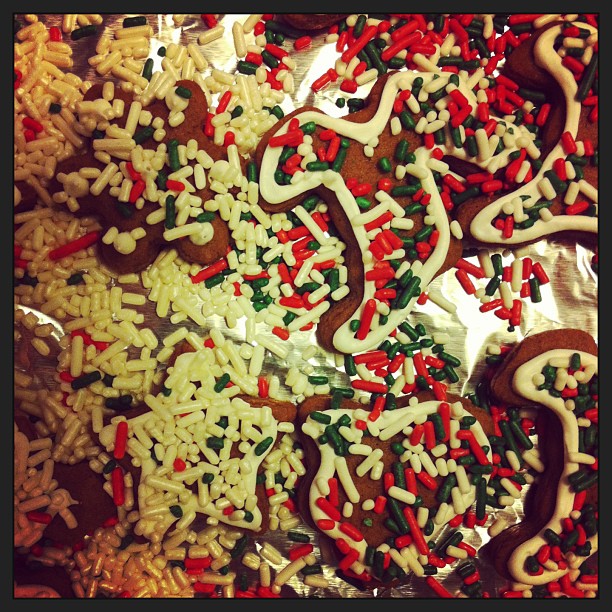
  9. Decorate as desired with sprinkles and colored sugar!
  10. Bake 10 - 12 minutes.
  11. Allow to cool for about 5 minutes on cookie sheet, then remove to a cooling rack to cool completely.
Untitled

Untitled

Untitled

Untitled

Untitled

Friday, November 16, 2012

The cookies are coming!

This year, my mom and my grandma (who turned 96 on my wedding day!) are teaching me how to make all their traditional Christmas cookies! And it starts tomorrow!

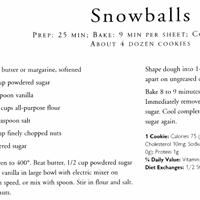
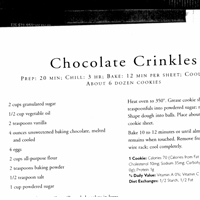
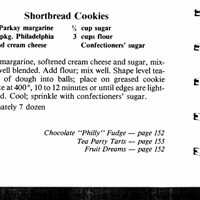
Here's the recipes from mom, but don't worry, I'll post each one as they're completed! It's going to take from now until Christmas. Cookie baking is a serious past-time for us.

Cookie1 Cookie2
Cookie3 Cookies4
Cookies5 Cookies6
Cookies7