header/navigation

LLLHeader2
Lavnav2_v4
Showing posts with label diy. Show all posts

Sunday, February 3, 2013

Crocheted Clothes Hangers

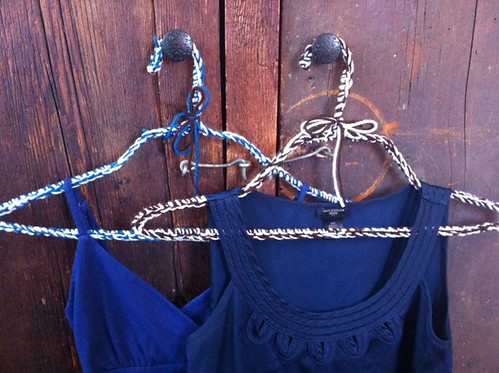
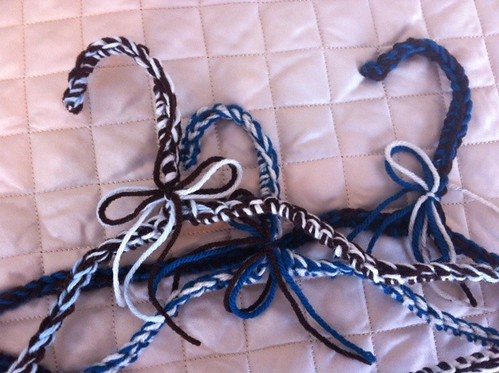
Stash bust plus repurpose crappy wire hangers from the dry cleaners by crocheting over them. They look cute and will keep your clothes from slipping to the floor.

photo 4

Skill level
Beginner

Supplies
Wire hangers
Worsted weight yarn in your choice of colors
6.5 mm crochet hook
Hot glue gun

Skills
Single crochet

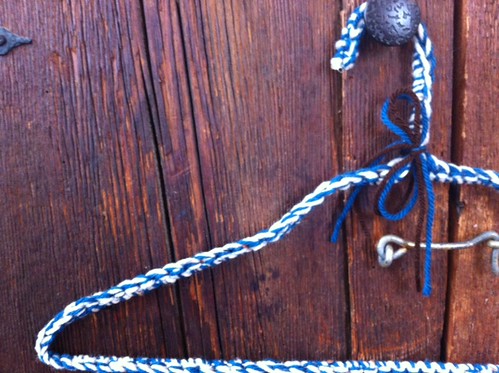
photo 1
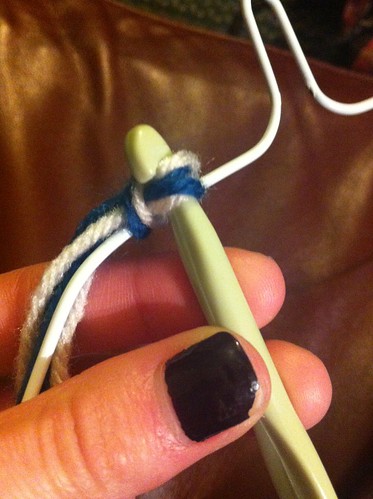
  1. Attach the yarn to the hanger to one side of the hook by reaching under the hanger and drawing up a loop. Yarn over with both the loose and working and end and draw through.
    Untitled
  2. Continue single crocheting around the hanger, putting your crochet hook under the hanger like it was the loops of your crochet work. 
  3. Crochet up and around the hook, and fasten off.
  4. Use a bit of hot glue to secure the yarn from sliding off the end of the hook.
  5. Cut about eight inches of yarn, and tie a bow around the base of the hook.
photo 2

Sunday, January 27, 2013

Valentine's Day Heart Garland

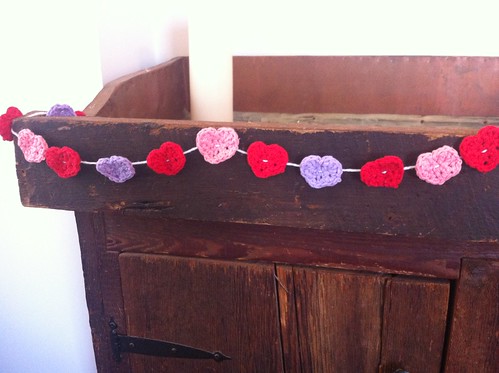
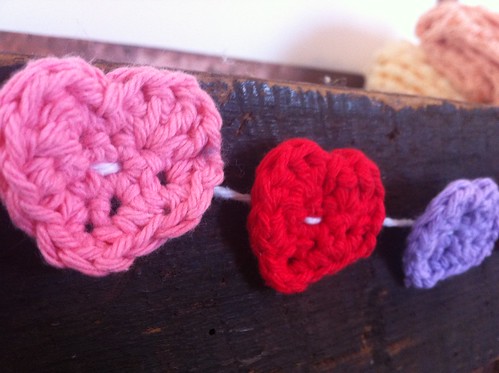
Here's a free pattern and tutorial for a little Valentine's Day seasonal decor to cozy up your home!

Untitled

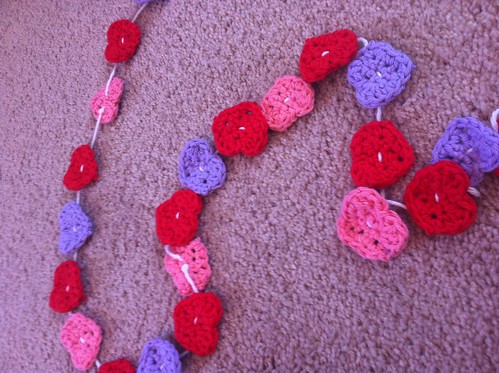
My garland was about 5 feet long and used about 27 mini hearts!

The pattern for the hearts is available for free from Crochet Today.

Download Mini Heart Pattern from Crochet Today

This little garland is happiest when all the hearts can rest against the wall or door frame, instead of swooping loosely. Otherwise they tend to face the floor a bit.

Untitled

Here's a little tutorial on how to string them together.
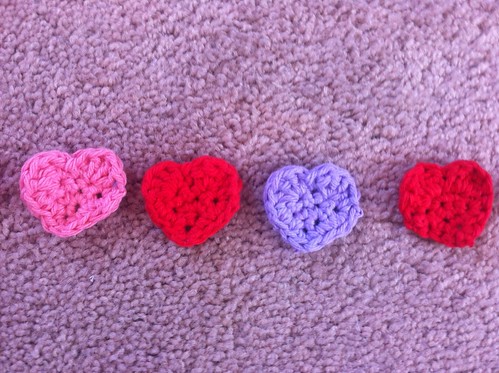
  1. Line up your hearts in the order you'd like them.

    Untitled
  2. Measure out your string to string the hearts on.
  3. You'll use knots to hold the hearts in place, so get your yarn needle threaded!

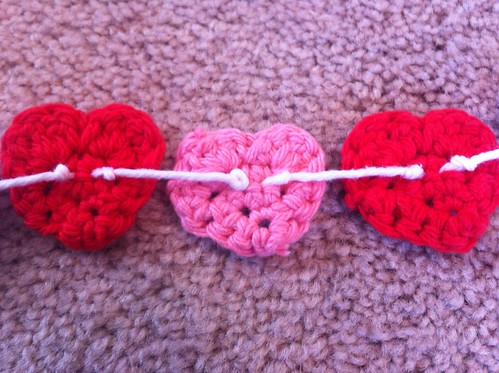
    Tie a knot. String heart. Tie a second knot. Then repeat, allowing about an inch and a half or so of space between each heart. It looks like this.

    Untitled

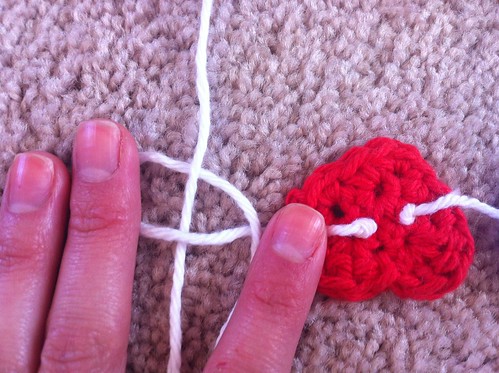
    It can be tricky to get the knot to land where you want it, but here's some tips.

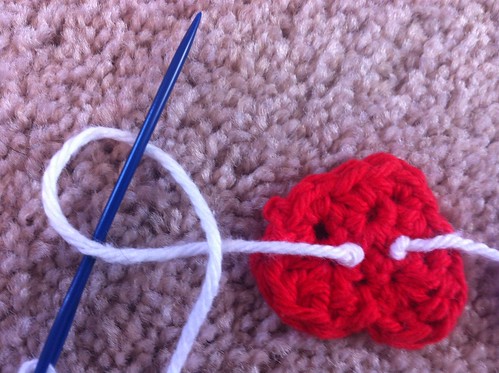
    Make a loop about where you want your knot to go, and pass your yarn needle through the loop.

    Untitled

    Hold the loop down with your fingers as you pull the needle through.

    Untitled

    It takes a little pushing and pulling but your knot shouldn't land too far off from where you want it.

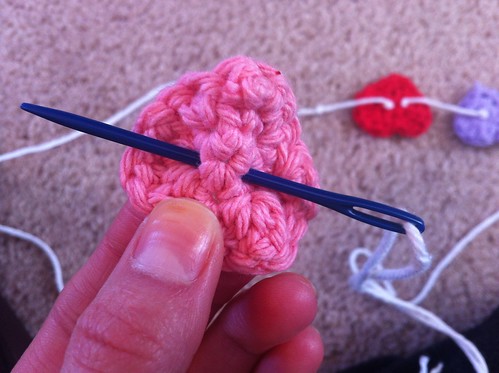
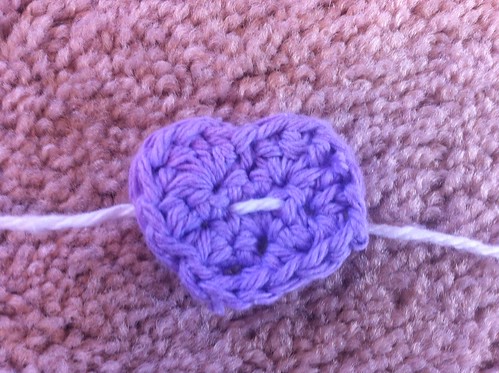
    To string your heart, thread your needle from the back to the front, then out the back again.

    Untitled

    Untitled

    Continue knotting and stringing until all your hearts are used!

    Untitled

Sunday, December 2, 2012

DIY: Simple Pinecone Garland

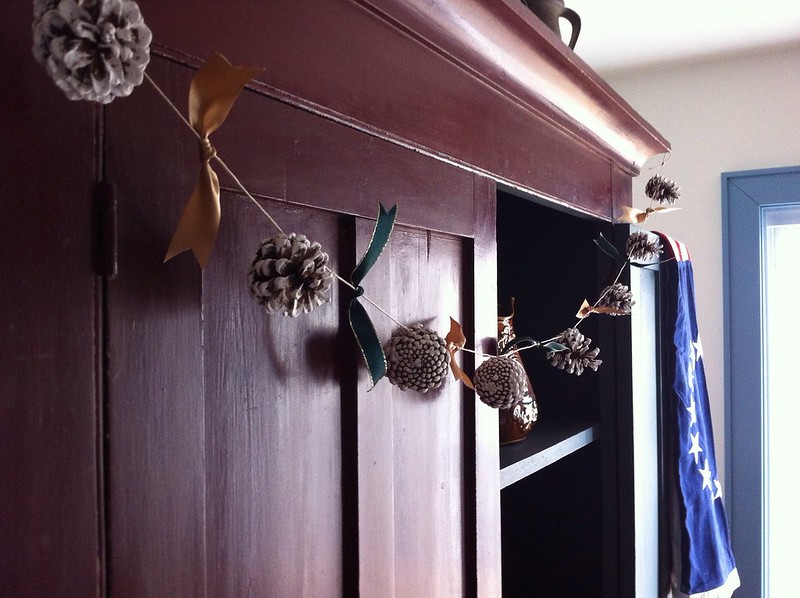
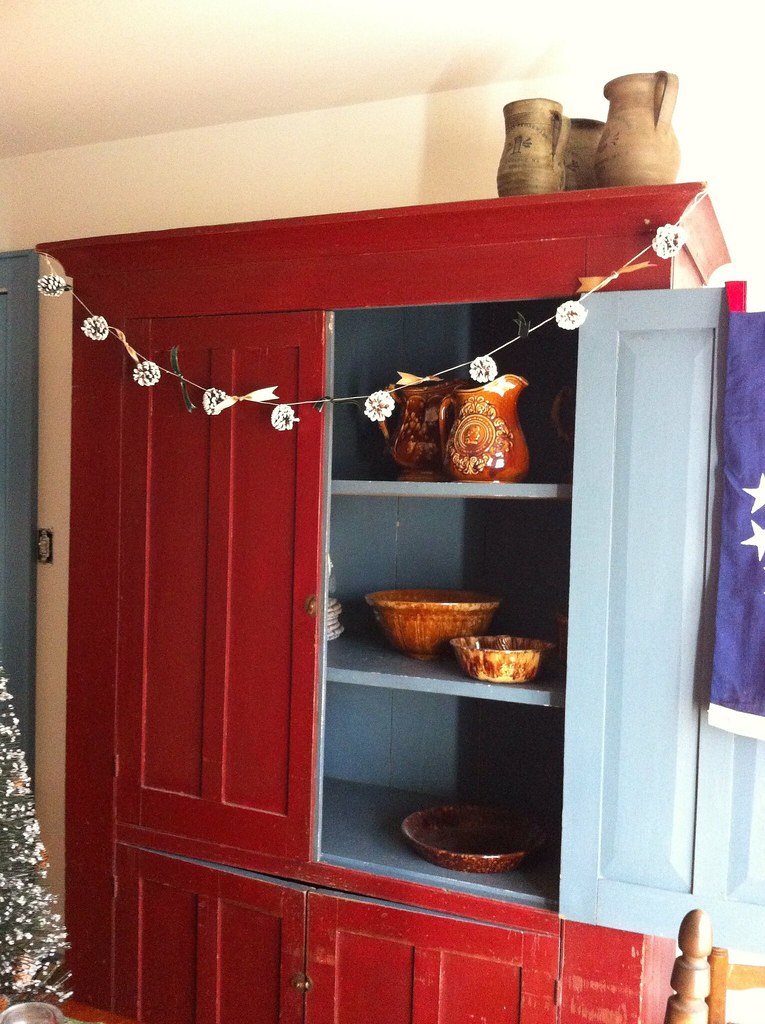
Now that December has arrived, I have a simple Christmas decor project to share. Some pretty pinecone garlands, and you likely have two of the three essential supplies on hand already.


Untitled

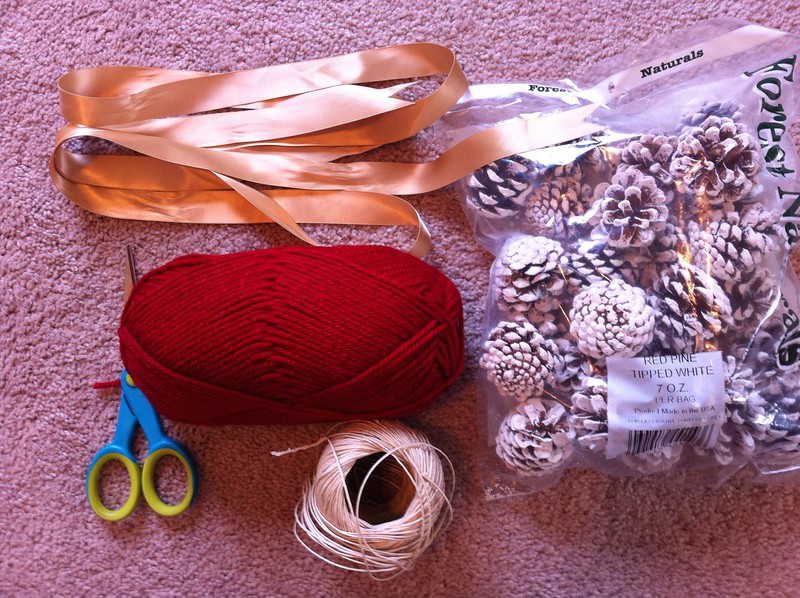
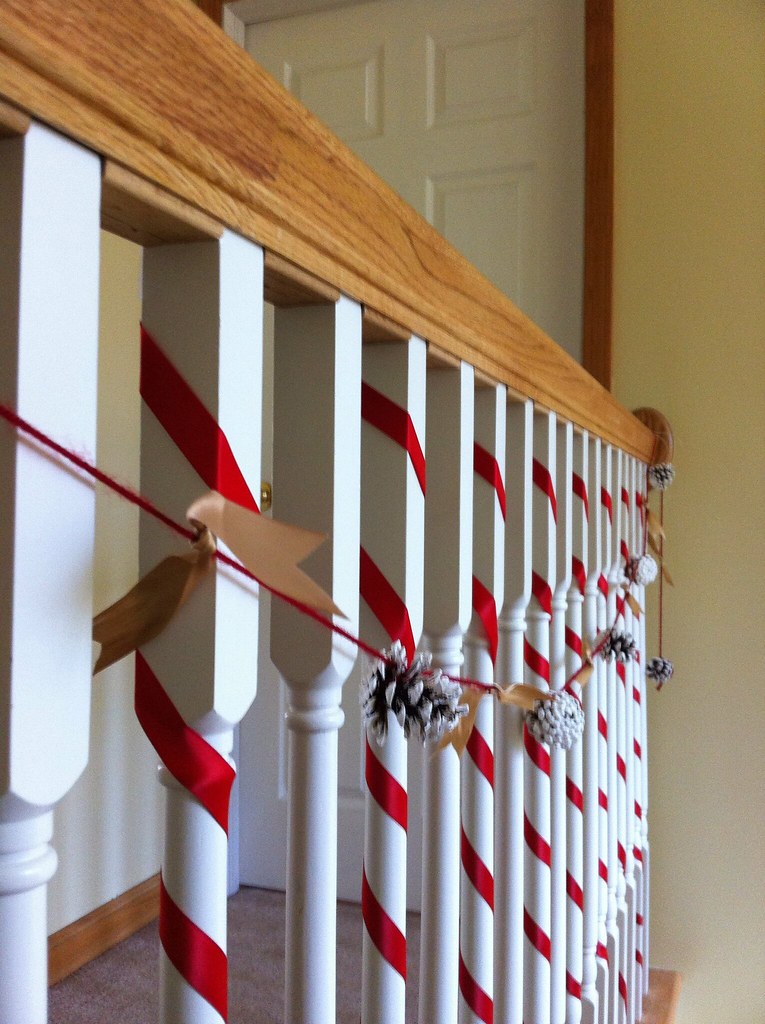
For the garland above, I used some hemp string for a natural, rustic feel. For a second garland for my stairs I used red yarn. I have a random assortment of ribbon on hand from past projects and gifts. I just needed to make a trip to the craft store for some pinecones.

Pinecone Garland

Supplies
String or yarn - enough to go across wherever you plan to hang your garland
Ribbon 
Pinecones
Sharp scissors

Untitled

Instructions

  1. Cut a length of string long enough to span across where ever you want to hang your garland.
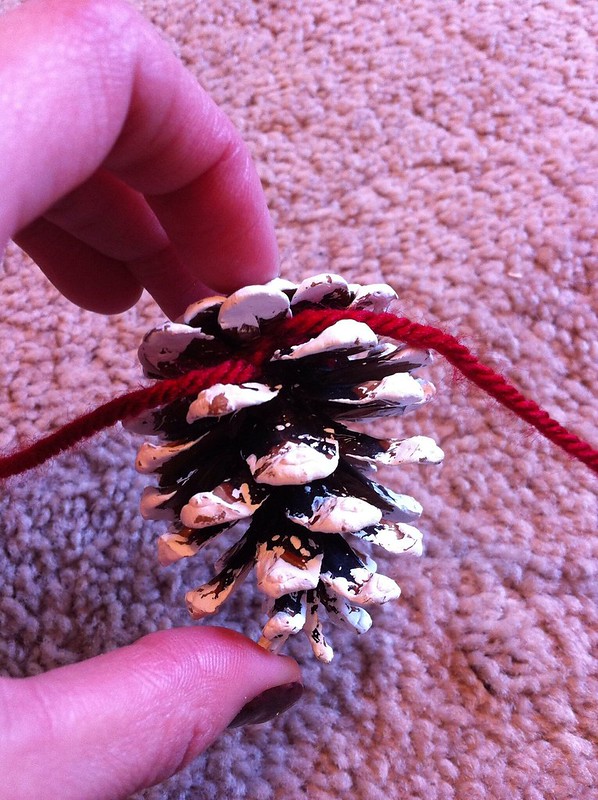
  2. About 8 inches from one end, tie your first pinecone.

    Untitled
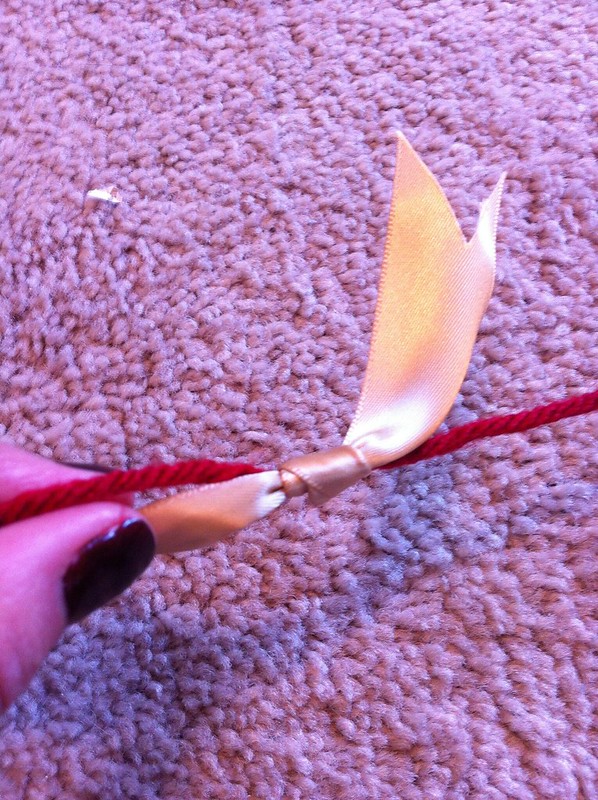
  3. Cut a piece of ribbon about about 6 inches in length. To get the forked end, fold the ribbon in half and cut on a diagonal so the edges of the ribbon will become points.
  4. Use just one knot to tie the ribbon on to the string about 4 inches or so from the pinecone.

    Untitled
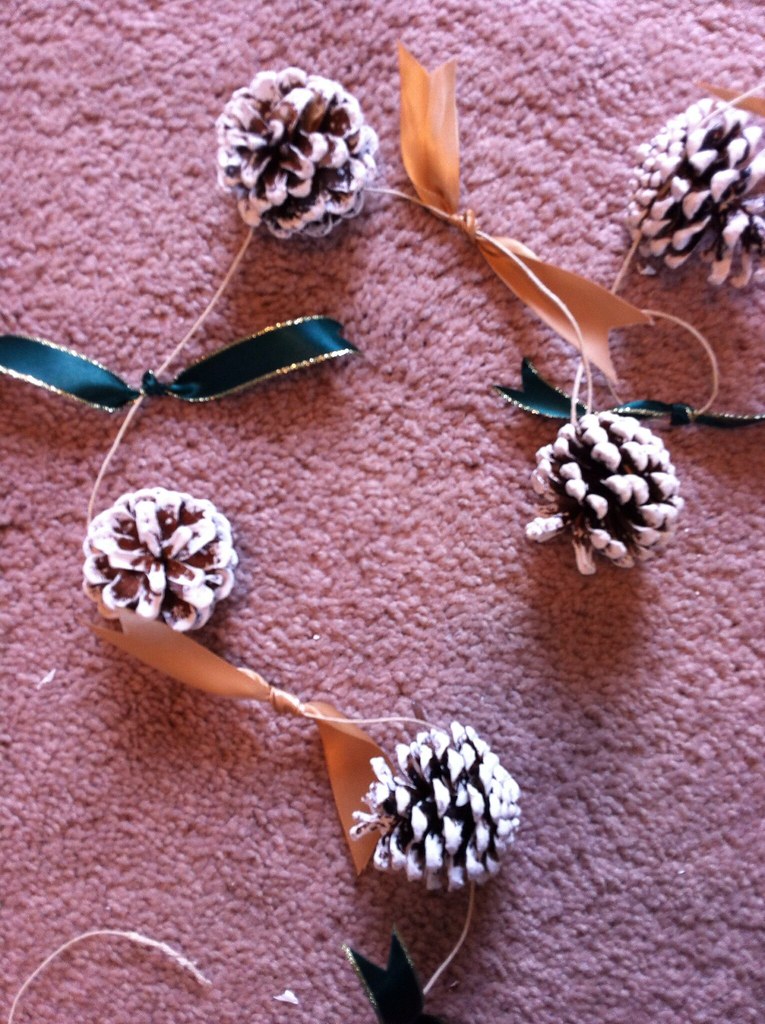
  5. Alternate tying pinecones and ribbons for the length of your string.

    Untitled
  6. Hang your garland in its new home to enjoy for the season.
Untitled


Untitled

Friday, August 3, 2012

Friday Fancy-ness

In my effort to post more and create a more inspiring blog, I bring you fun photos and links from what inspired me this week. Perhaps this will be a regular thing?
I want to crochet this now. Now. It's a great "my office is freezing" sweater.
Penny Arcade Jacket from Vickie Howell

Thursday, June 14, 2012

How to Throw a Fancy BBQ

Welcome to summer! Hope you've been getting some good use out of your grill. Here's some inspiration to fancy up your bbq nights!


Tie up your plastic cutlery in sets with colored napkins and ribbon. The Noble Wife, where I found this inspiration, went so far as to tuck a piece of fresh herb in each bundle!

Friday, June 1, 2012

Hanging Basket Inspiration

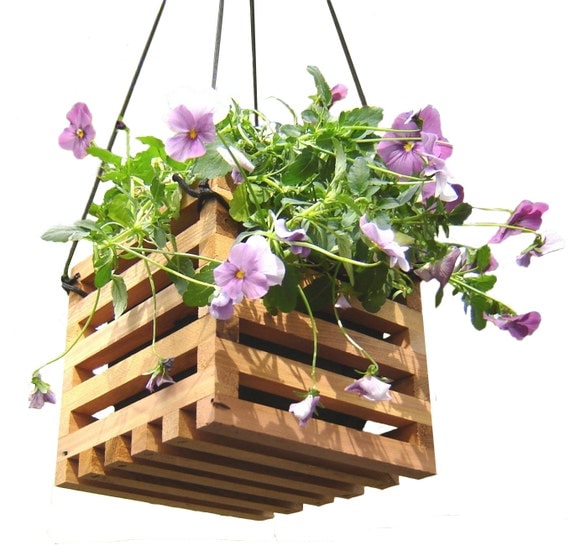
I have one hanging basket this summer that I hope will attract hummingbirds. It's store bought and serves it purpose, but here some DIY ideas for much more clever hanging baskets!


Crate, new or reclaimed! Use coconut husk or burlap to line it with.


Upcycled colander!


Tiered hanging basket DIY. Instructions here!

Wednesday, May 30, 2012

How to Make Ice Cream Without an Ice Cream Maker

Right now, there is some pureed watermelon in my fridge waiting to become sorbet. To preface that post, I wanted to share with you guys how you can make any frozen treat without even using an ice cream maker!


Sunday, May 20, 2012

How to Responsibly Enjoy Wildflowers

When I moved in with my husband-to-be and out to the country, I was taken by the lovely wildflowers that grow in the woods around our house and along the sides of the road.

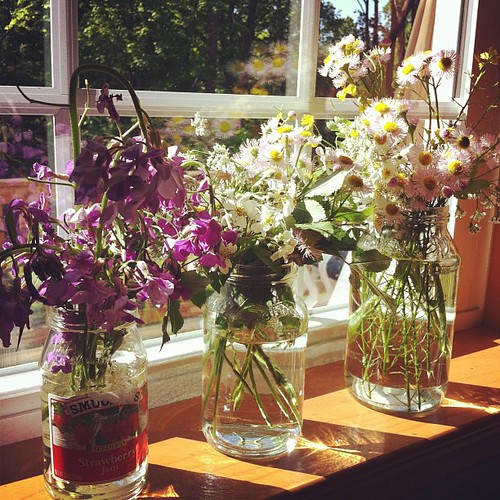
Just because they're considered wild doesn't make them any less beautiful than flowers we cultivate in our own gardens! Why shouldn't I enjoy them in my own home? Well, there are both legal and ethical concerns to consider regarding picking of wildflowers and I've wrapped it all up for you here.

Pretty while they'll last but I'm afraid wildflowers are meant to be wild

Sunday, February 5, 2012

Sunday Secret to Crocheting in the Round Using the Magic Circle

I figure I better put something helpful on this blog once in awhile. So I'm starting a new regular series called Sunday Secrets where share helpful tips and tricks to doing...well...something!

This week I have some step by step pictures of how to start crocheting in the round starting with the magic circle. It's a different way to start crocheting in the round, that won't leave you with the hole at the center of your work you get when you crochet into a chain.

With and without magic circle

Friday, January 27, 2012

DIY: Gift Tags from Greeting Cards

What have you done with all your Christmas cards from this season? Well, seeing as it's almost February, you've probably gotten rid of them by now. Though knowing just when to do so is not always an easy choice.

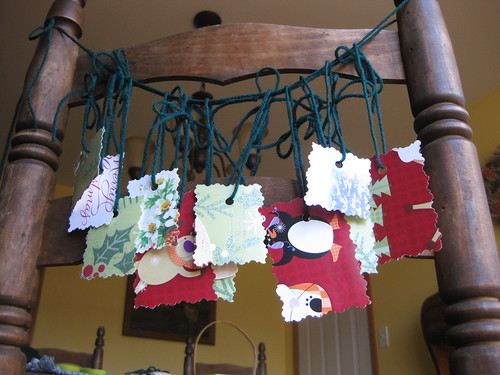
One way to soften the guilt the comes with tossing greeting cards it to repurpose them as pretty gift tags. Birthday or Mother's Day cards can easily double as bridal or baby shower gift tags, or the other way around.

DIY Christmas gift tags

Sunday, January 22, 2012

DIY Cookie Cutter Stencils & Green Tea Shortbread Recipe

Happy Chinese New Year's Eve and welcome to the year of the dragon! To celebrate I have a fun DIY post mixed with a baking post!

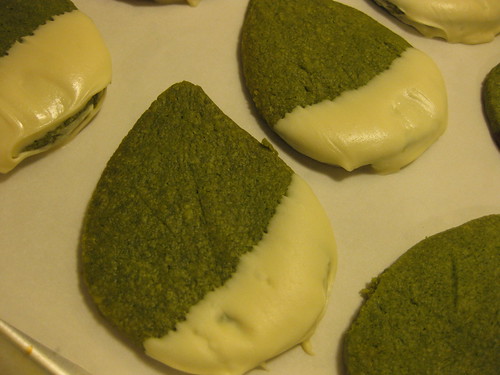
We're making green tea shortbread cookies shaped like little tea leaves. No leaf shaped cookie cutter needed! Here was my inspiration, and here are how mine came out, plus dipped in chocolate.

White chocolate dipped green tea shortbread