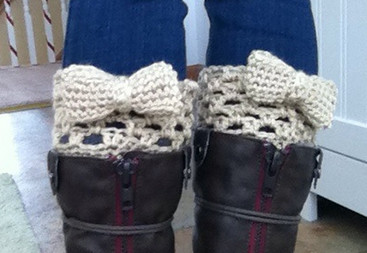
I have a girly boot cuff pattern for you. Christmas is coming, whip up a few sets of these in different colors in an afternoon!
Bow Boot Cuffs
Skill level
Beginner
Finished size
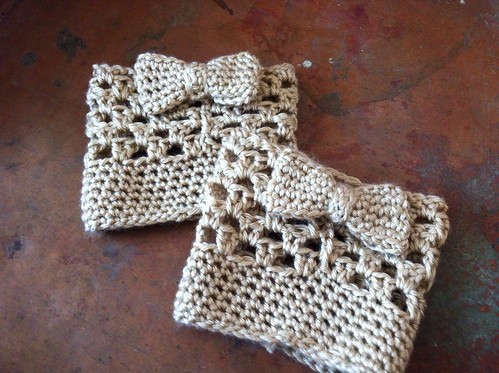
Width: Make to fit your calf! Mine pictured is 4 3/4 wide
Length: About 4 inches
Bow: 3 inches wide
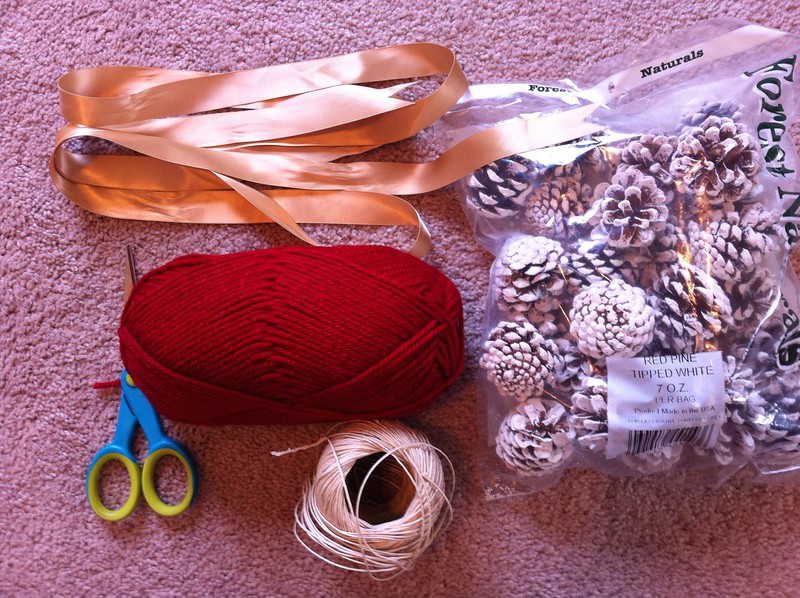
Supplies
Worsted weight yarn (For mine, my one skien of Simply Soft will make many sets of boot cuffs)
5 mm crochet hook
Yarn needle
Skills
Ch - Chain
Sl st - Slip stitch
Sc - Single crochet
Dc - Double crochet
Sk - Skip
Instructions
Cuff
Make 2
Ch 36
Or enough to fit around your calf with a little bit of stretch, and sl st to join. Rows 1 - 7 are worked in continuous spirals. Use a stitch marker in the last stitch of each row to keep track of how many rows you work.
Row 1 - 7: Sc in each around until piece is approximately 1 1/2 inches tall, or more until piece reaches your desired height
Row 8: *2 dc in next sc, ch 1, sk 2, repeat from * around
Row 9: Ch 2, turn, dc in next ch space, *ch 1, sk 2 dc, 2 dc in next ch space, repeat from * around, sl st to join
Row 10 - 13: Repeat row 9 (or until desired height is reached)
Fasten off and weave in ends
Bow
Make 2
Ch 25, sl st to join
Row 1 - 5: Sc in each around
Fasten off and weave in ends
Bow Center
Make 2
Ch 7
Row 1: Sc into 2nd ch from hook and in each across
Row 2: Ch 1, turn, sc in each across
Fasten off and leave tail long enough to sew on bow
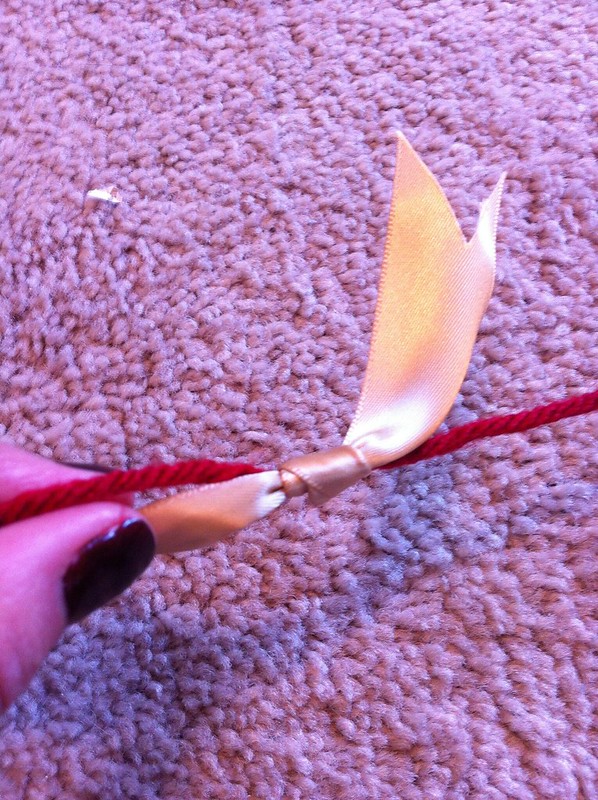
Assembly
Wrap the bow center around the bow and sew it tightly to cinch the bow in the center. Sew bow on to back of cuff at center, and on both ends.